Page 2 of 6

Re: Smittie-Lizzie

Posted: Mon Aug 20, 2012 11:07 pm
by blue71
It's pretty amazing to see a photographic account of a Type IV rebuild, especially by such a knowledgeable person!

Re: Smittie-Lizzie

Posted: Mon Aug 20, 2012 11:24 pm
by Lizzie76
I am so excited to see her get done, even if he wont let me help, and I am glad EVERYONE else gets to watch too...I guess. But it feels a little violating :oops: But I guess its a good lesson for ME to learn and others can enjoy the "peep show" :shock:

:lol:

My poor Lizzie :(

Doc Chuck is in da house :lol:

Re: Smittie-Lizzie

Posted: Tue Aug 21, 2012 8:31 am
by lurch
this looks all to familiar of a prodject chuck .hahaha.looking good and keep the excellent write up goin.

Re: Smittie-Lizzie

Posted: Tue Aug 21, 2012 8:51 am
by John
:arrow: you can have soup. :lol: :lol:

Re: Smittie-Lizzie

Posted: Tue Aug 21, 2012 9:56 am
by chuckspence
Matt Keith came over to help with the bottom end disassembly, nothing too unexpected, except the cam bearings...

Image

Image

Image

Image

Image

Image

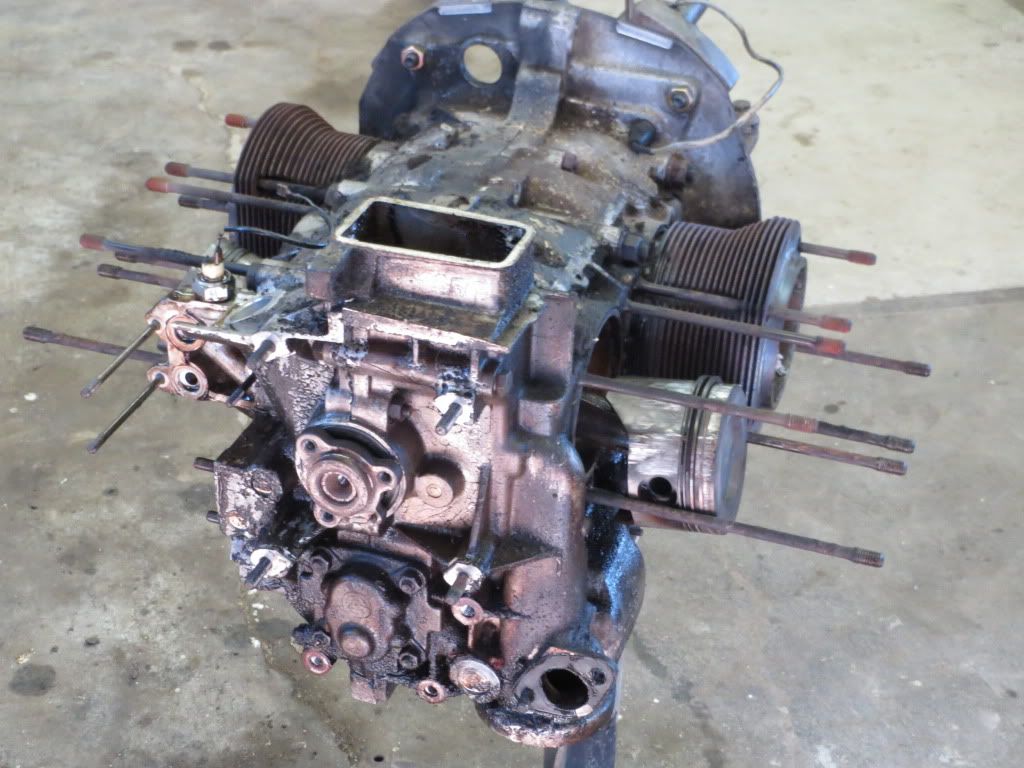
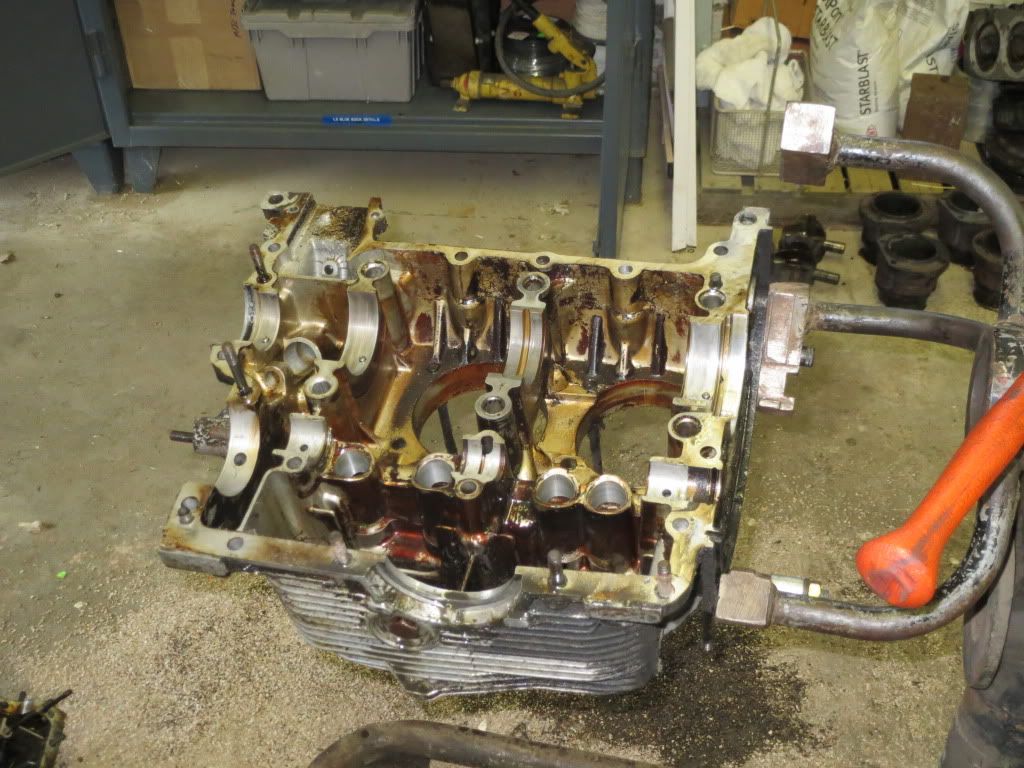
Splitting a type 4 case is pretty straight forward, Matt & I got right to it and didn't stop to take too many photos:

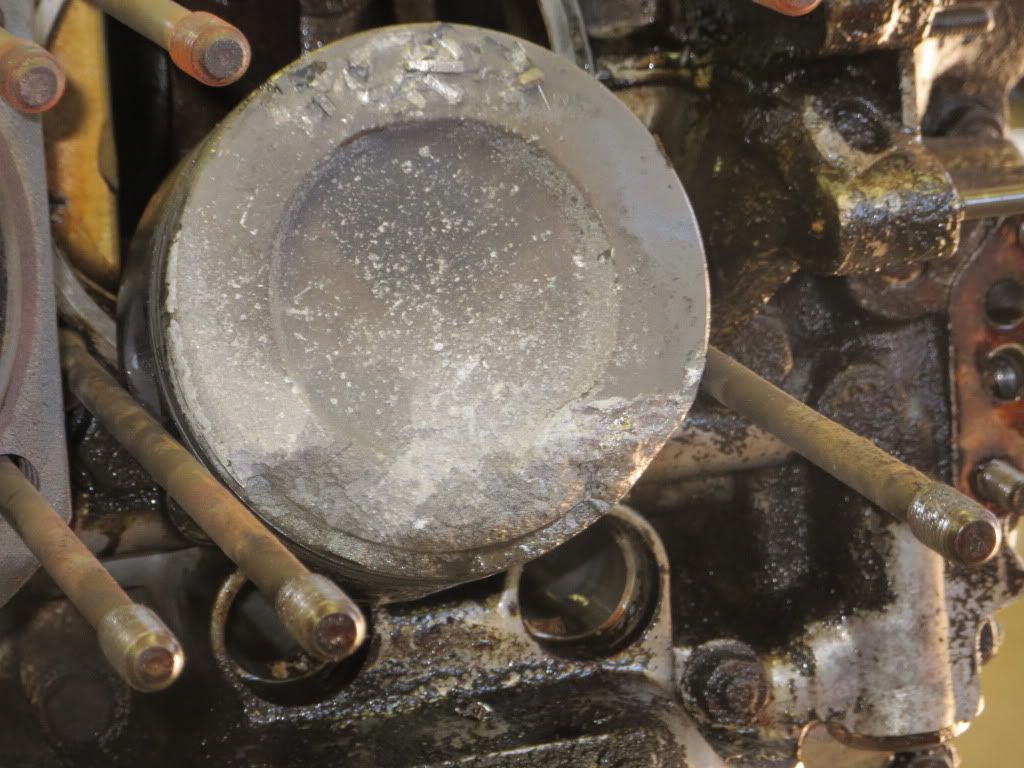
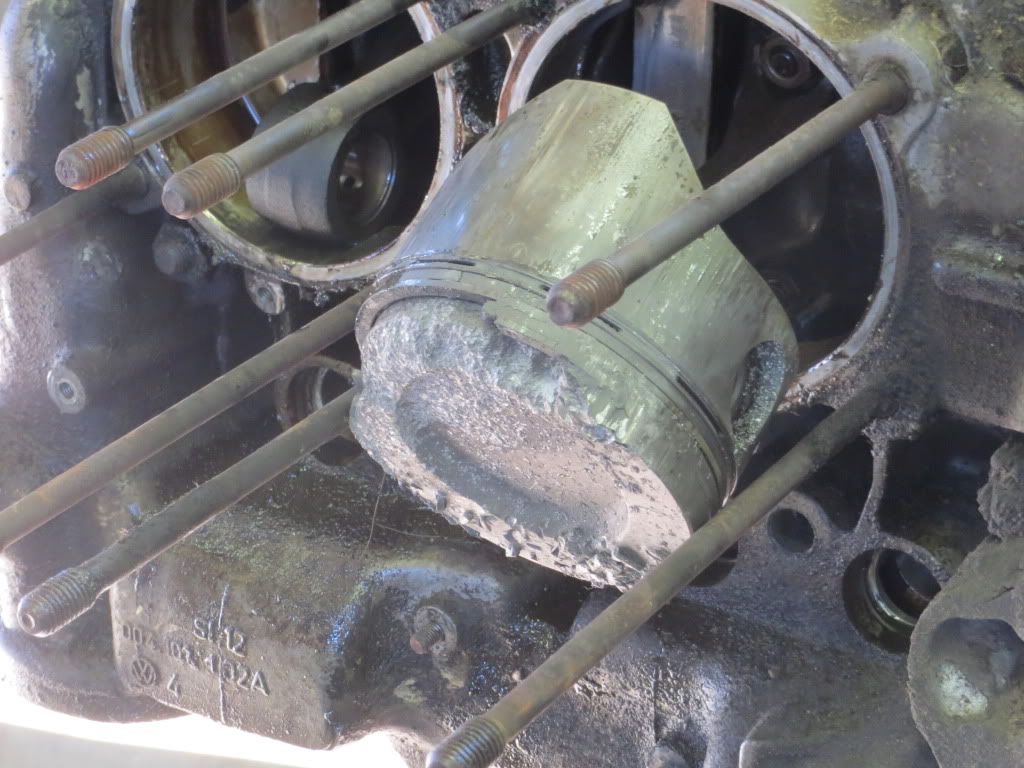
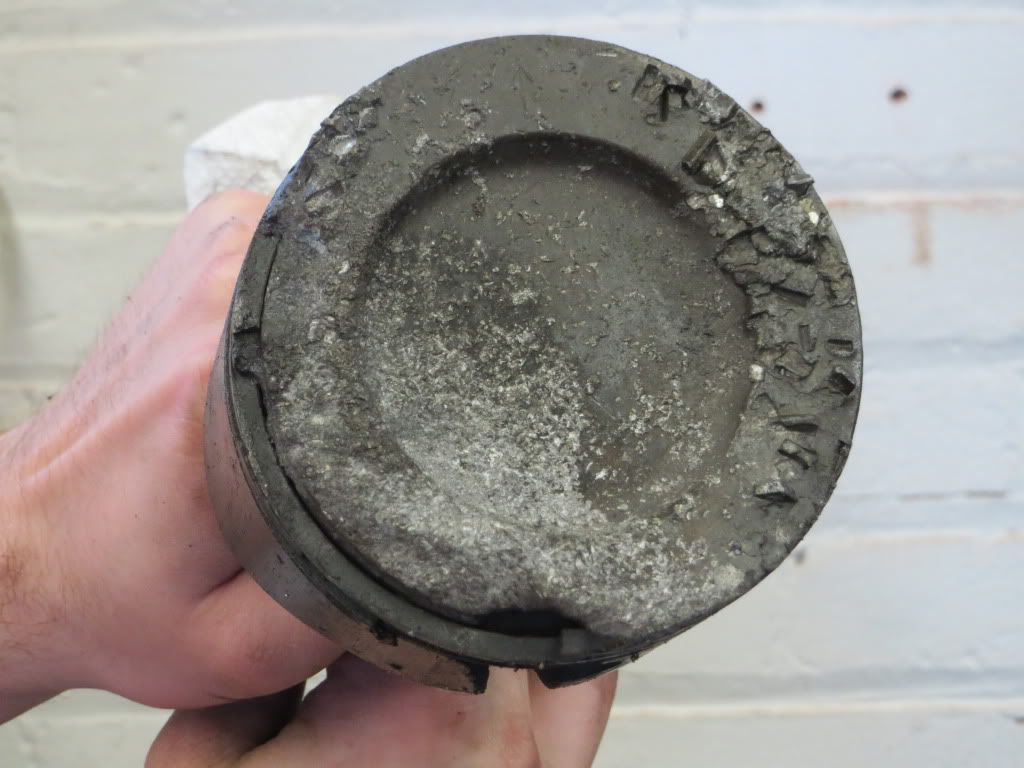
1) remove cylinders & pistons, the wrist pin on the most melted piston was not going to be removed, we had to remove the piston & connecting rod as a unit.

2) remove all the 8mm & 6mm case bolt/nuts & bottom sump cover, on type 4 motors I always suggest that newbies remove all the case bolts and when they are certain they got all of them to then go back and remove the last 2.

3) remove the oil pump, type 4 oil pumps have 2 tabs on the sides to get 2 large screwdrivers under to pry out, usually quite easy.

4) remove the nuts & washers from the 6 main case bolts, the bolts will remain with one case half.

5) to split the case I use a composite dead blow hammer, and just hit the loose half around the perimeter, after a few hits the case should begin to split, if not STOP! and look for any remaining bolts that may have been missed, do NOT pry the case halves apart with anything.

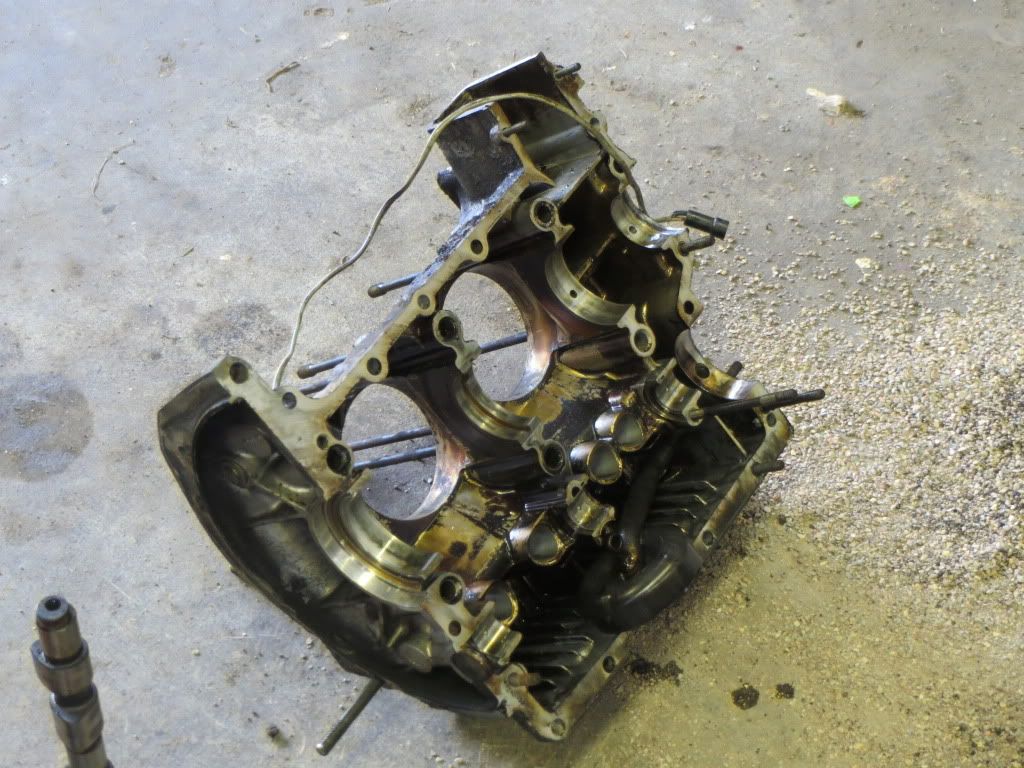
6) Once the case has been opened, the internals can be removed, make sure to remove the 5 main bearing pins and put them somewhere they won't get lost.


Image

Image

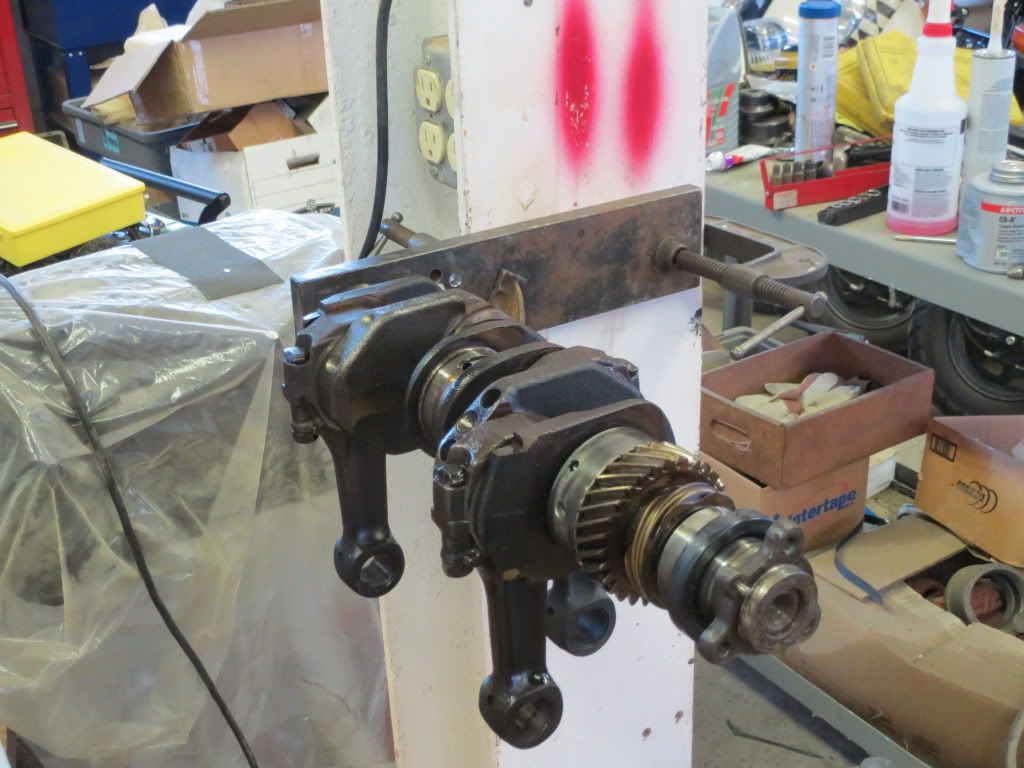
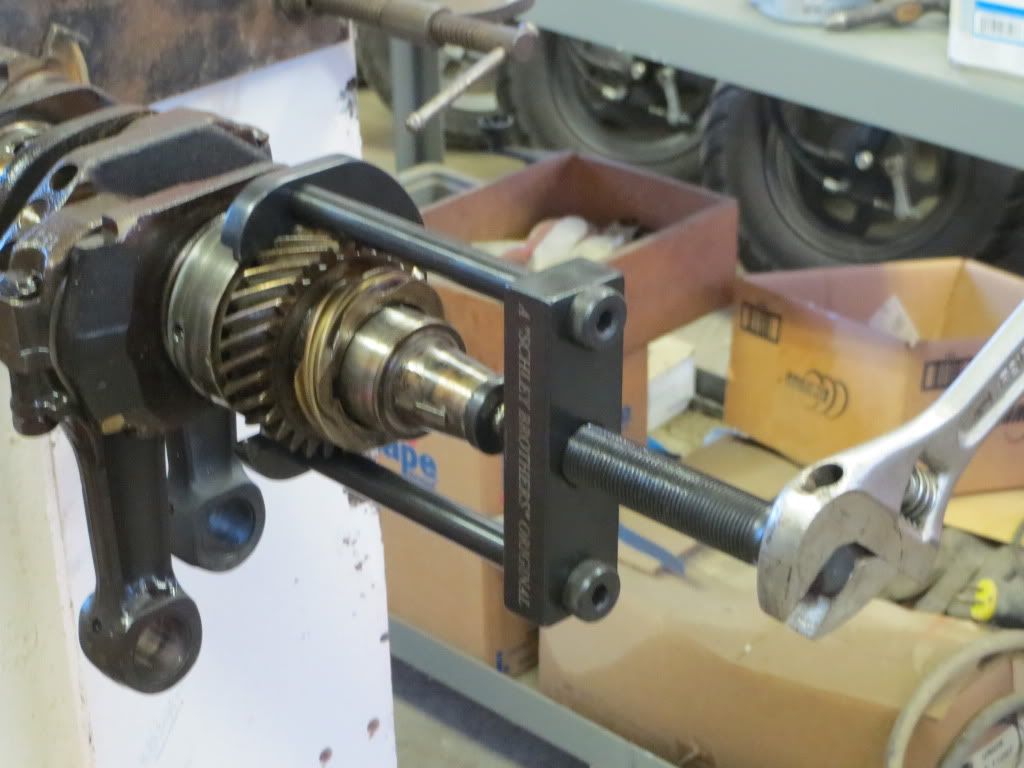
Crankshaft/ connecting rod disassembly requires a cam gear puller or some sort of press.

Image

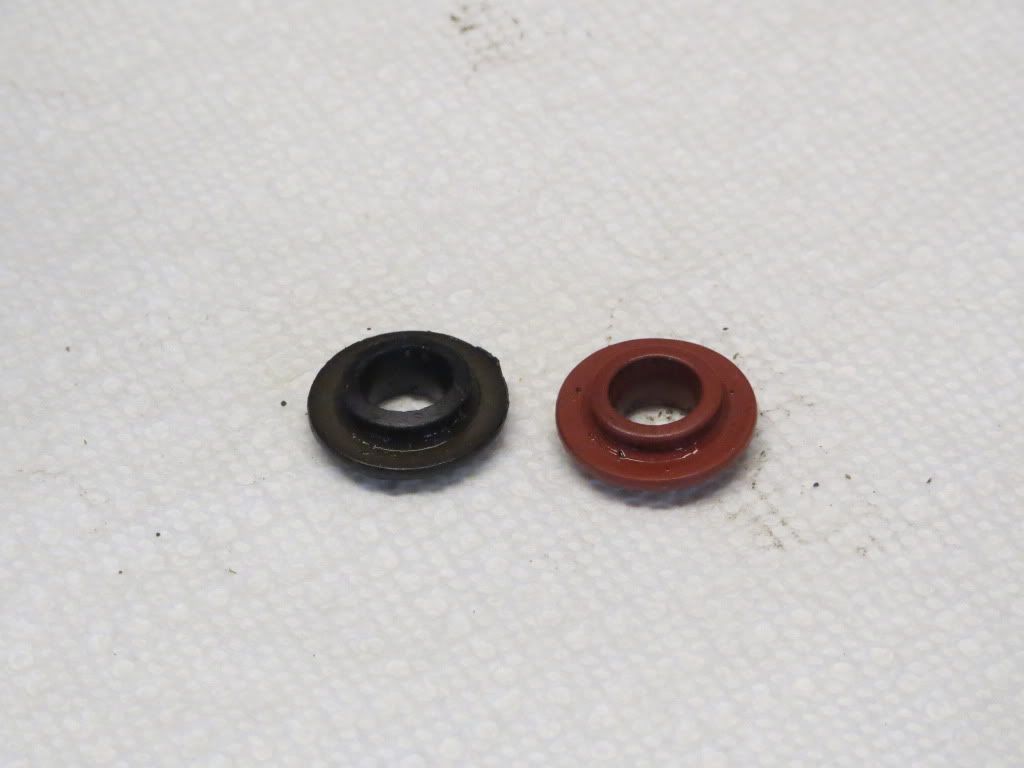
Broken part recap: oil cooler seals: outlet OK, inlet cooked to a crisp, hard, shrunk, discolored, leaking.

Image

Image

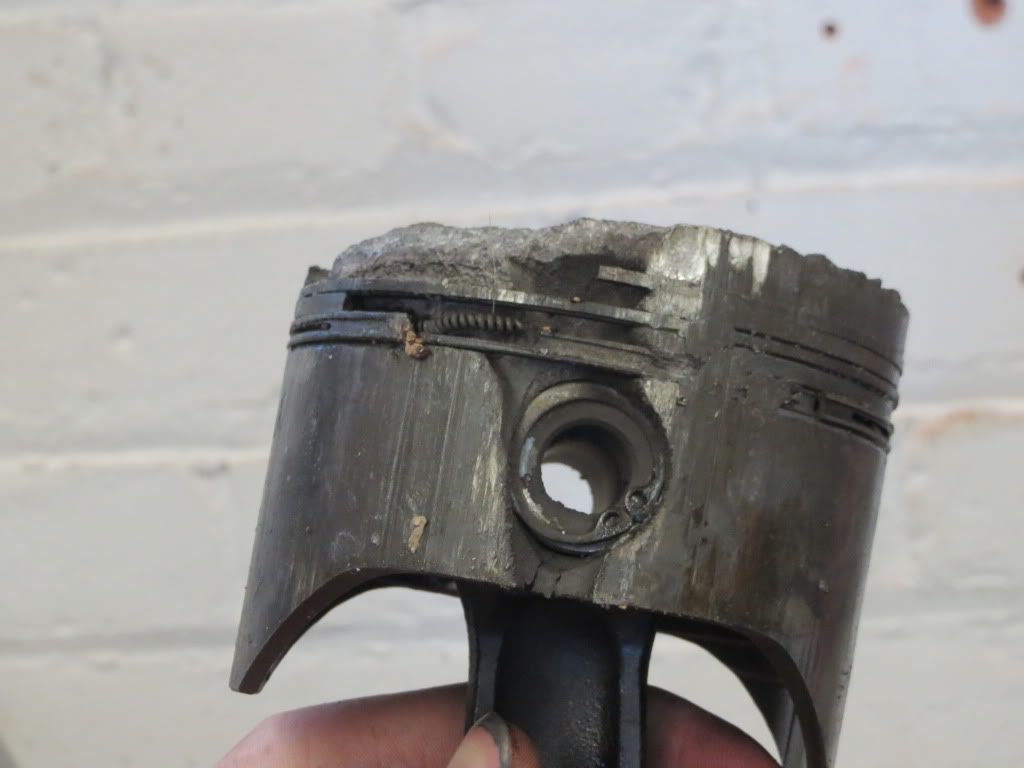
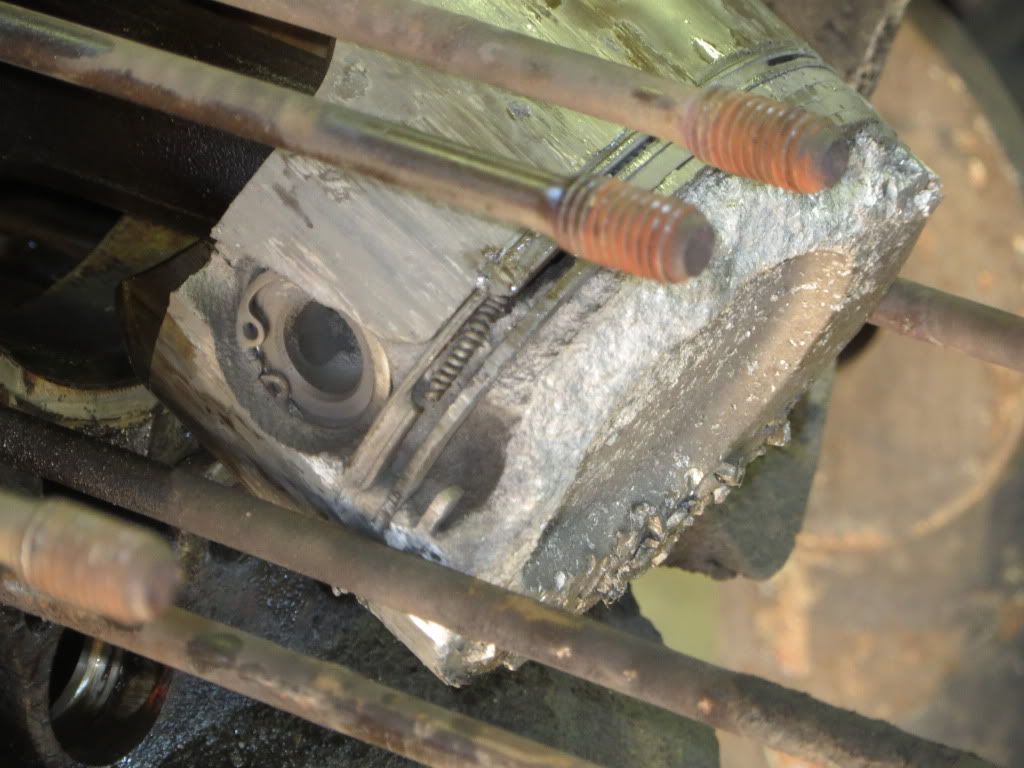
Piston, no explaination needed.

Image

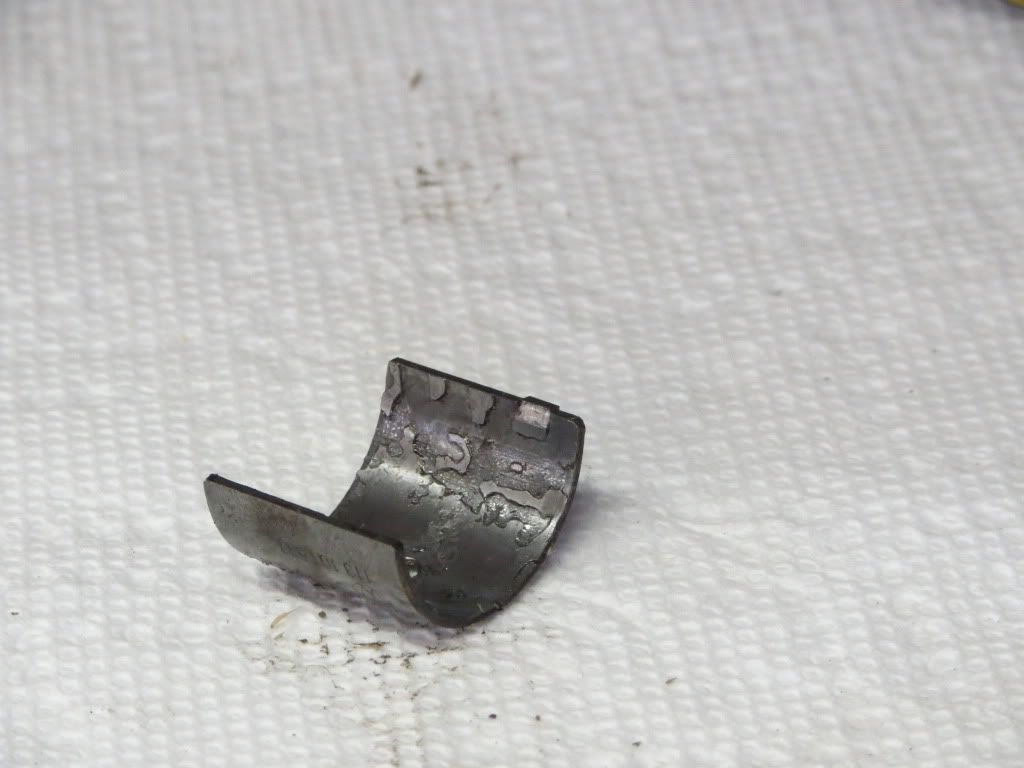
Cam bearings, melted & delaminating, this motor got very hot, more to follow....

Re: Smittie-Lizzie

Posted: Tue Aug 21, 2012 10:08 am
by Lizzie76
Like me :lol: Guess I'm too hot to drive her :lol: NOT!

Re: Smittie-Lizzie

Posted: Tue Aug 21, 2012 10:35 am
by Crapatron
Thanks for the great step by step write up of the engine breakdown process Chuck (and whomever else is assisting) Very informative. I hope you continue to post these detailed notes throughout the rebuild as well.

Not that I like to benefit from anyones misfortune. Hope that your back up and running soon Smittie.

Re: Smittie-Lizzie

Posted: Tue Aug 21, 2012 12:21 pm
by Lizzie76
Me tooo....I am so anxious!!!

Re: Smittie-Lizzie

Posted: Tue Aug 21, 2012 3:26 pm
by Ron
What made it get that hot? Fan and cooling, timing, or a combination of things?

Re: Smittie-Lizzie

Posted: Tue Aug 21, 2012 3:38 pm
by Lizzie76
Yeah? What did make that happen? and how do I avoid that EVER AGAIN??? :shock: