Page 3 of 23
Re: CKWA/KWHA Part II
Posted: Fri Apr 03, 2009 7:45 pm
by Six Volt
I love LEAKOIL ingenuity. I guess I can now return that messy 'playdough' to Fergus. I also see the hacksaw blade is 'specially marked'.

Ken, it's such a good idea that you may have to reserve it for 'California Quality' engine installs.

Re: CKWA/KWHA Part II
Posted: Fri Apr 03, 2009 8:27 pm
by Ken
Six Volt wrote:I love LEAKOIL ingenuity. I guess I can now return that messy 'playdough' to Fergus. I also see the hacksaw blade is 'specially marked'.
Ken, it's such a good idea that you may have to reserve it for 'California Quality' engine installs.
I probably would if I could only find someone to define "California Quality":roll:
Re: CKWA/KWHA Part II
Posted: Sat Apr 04, 2009 6:57 am
by Josh
I always just make my wife get that thread started while I'm holding the bolt from the starter.... works every time.

Re: CKWA/KWHA Part II
Posted: Sat Apr 04, 2009 7:02 am
by Ken
Josh wrote:I always just make my wife get that thread started while I'm holding the bolt from the starter.... works every time.
Sounds like you got a real trooper there

Mine would say "ouuu I might break a finger nail"

Re: CKWA/KWHA Part II
Posted: Sat Apr 04, 2009 6:57 pm
by Six Volt
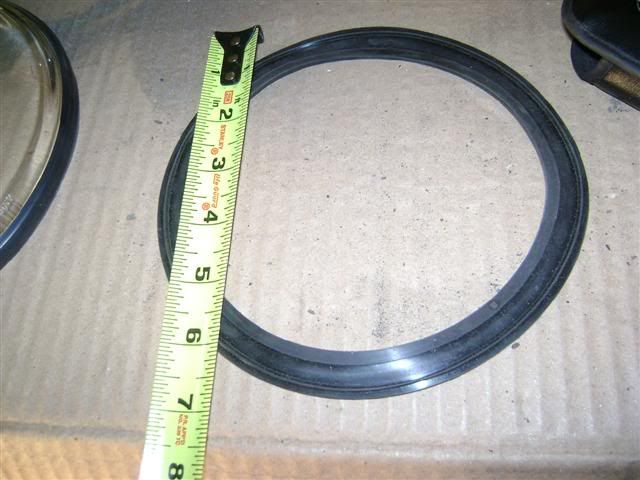
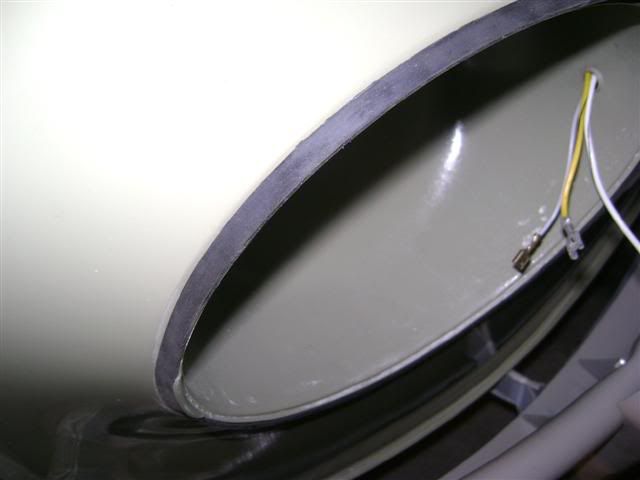
OK, for the longest time I was starring at these headlight seals and had no idea where they went.

I looked at all the manuals, but for some reason, I just couldn't add it all up. I think it was the size. I was spending too much time looking at the sealed beam bulbs. Usually, even things that have to be streched still come close in size to the object they are streched over.
Finally, I figured it out.

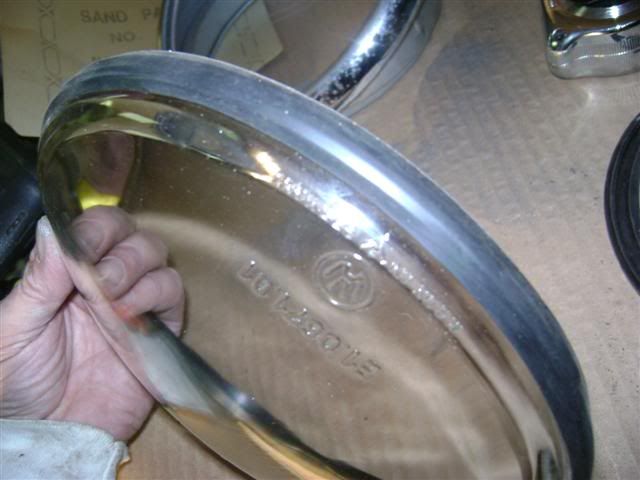
Here's the seal...
Here's what it goes over...
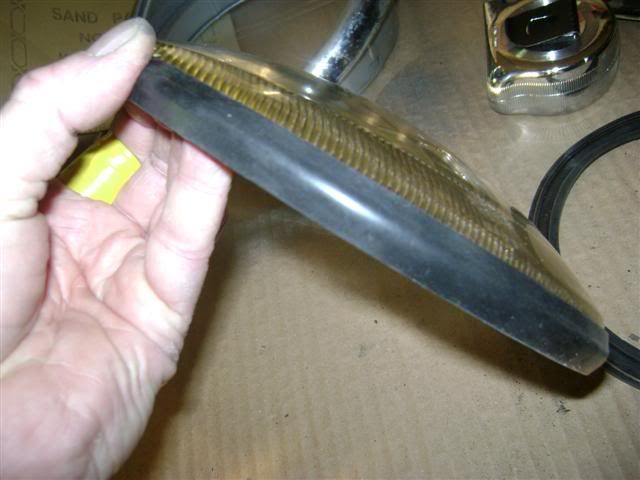
Perfect fit when it's on...
Remember the seal to the body...
Re: CKWA/KWHA Part II
Posted: Sun Apr 05, 2009 6:26 pm
by wwebner
A little late with this,but here is the tool to hold the upper dr side eng bolt.
IM001795 (Small).JPG
It is magnetic and stays on the bolt head while holding it in place.Problem is,being magnetic it stays after you have finished. I left this one on a bus many years ago and got it back two owners later when the then owner found it when pulling his motor.
Re: CKWA/KWHA Part II
Posted: Sun Apr 05, 2009 9:52 pm
by Howie
wwebner wrote:I left this one on a bus many years ago and got it back two owners later when the then owner found it when pulling his motor.
Now THAT is funny!
Re: CKWA/KWHA Part II
Posted: Sun Apr 05, 2009 10:16 pm
by Six Volt
wwebner wrote:A little late with this,but here is the tool to hold the upper dr side eng bolt.
It is magnetic and stays on the bolt head while holding it in place.Problem is,being magnetic it stays after you have finished. I left this one on a bus many years ago and got it back two owners later when the then owner found it when pulling his motor.
Wow! They thought of everything. Was that a Hazet tool?
Re: CKWA/KWHA Part II
Posted: Mon Apr 06, 2009 8:02 am
by Ken
wwebner wrote:A little late with this,but here is the tool to hold the upper dr side eng bolt.
IM001795 (Small).JPG
It is magnetic and stays on the bolt head while holding it in place.Problem is,being magnetic it stays after you have finished. I left this one on a bus many years ago and got it back two owners later when the then owner found it when pulling his motor.
That may have been me. I found one of those tools when I pulled the motor on my '66 Westy. Might still have it somewhere.
Re: CKWA/KWHA Part II
Posted: Thu Apr 09, 2009 9:20 pm
by Six Volt
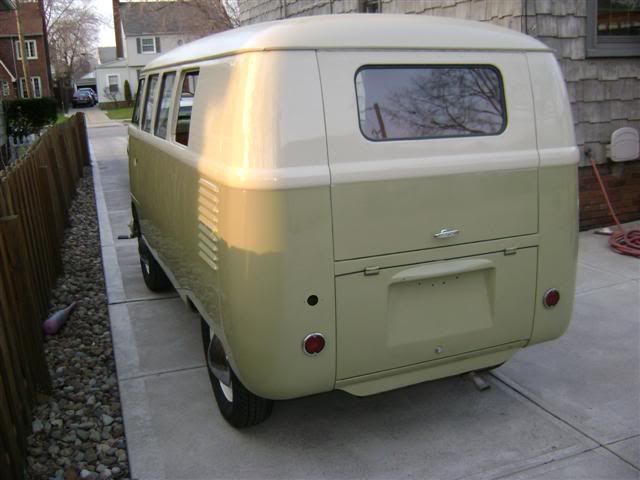
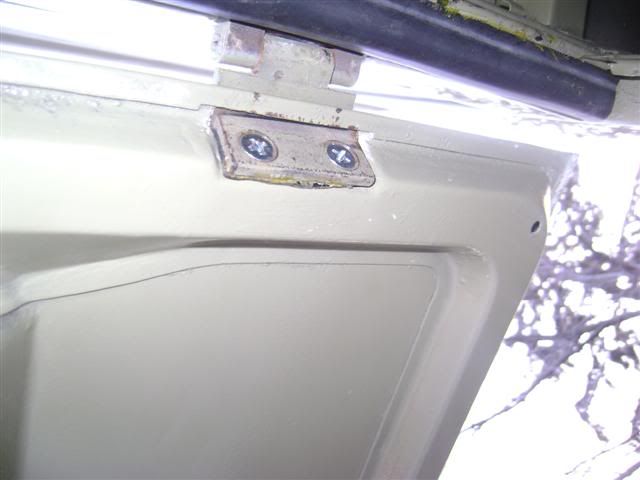
Well, it was too nice today not to do something on the bus. So after work I figured since the engine was in, it was time to get that pesky engine lid on. What a pain. The lid was off when I got this bus, and of course, the PO just threw the screws/bolts wherever. Over the winter I picked up those little hinge seals from WW. The screws I did find were 6mm, but beat to crap. I went down to Home Depot because if figured the quailty Ingresall's Hardware was already closed. HD is ok for shower parts, but not the best place to build a VW. I did find some 6mm's so I could get to work. I got it on solo, after Fergus gave up on me. He said "Call one of your LEAKOIL buddies, you're killing me with this". He was right. I still have the prop arm to deal with. Kirk put it on "right" originally but of course I took it off to clean and paint it. Something's not right 'cause it will come down and crack you on the head if you're not carefull. Here we go...
Gettin those 6mm screws in...
That prop arm doesn't look like it's in right ...

Here it is from the backside. See the end of the spring?
It's on...
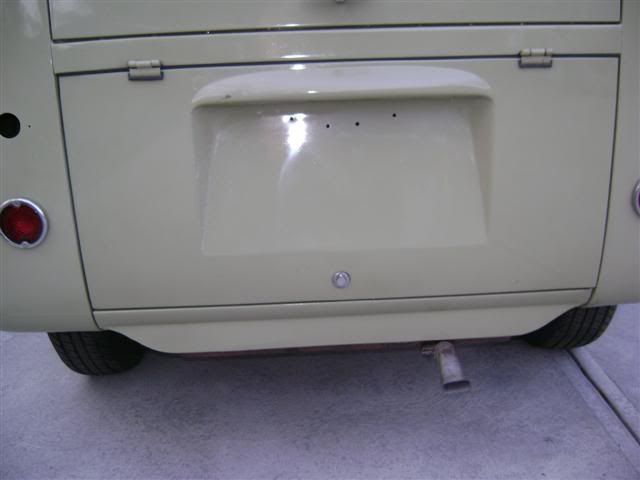
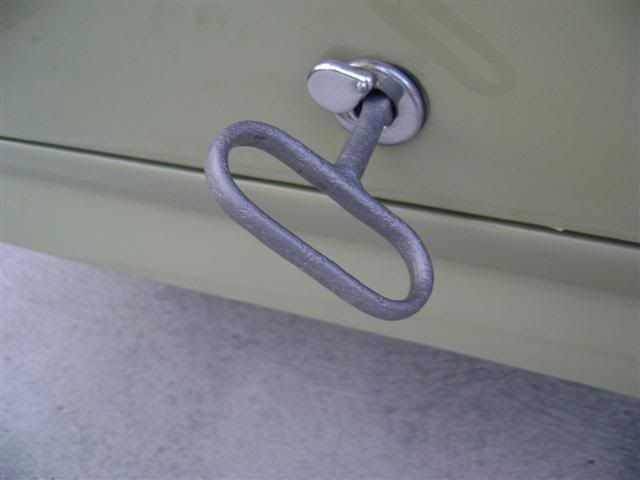
I love the Church key...
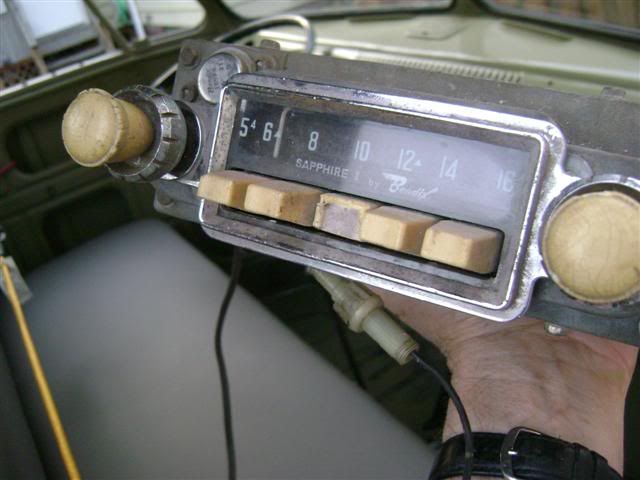
Maybe tomorrow I'll work on the tunes. CKLW 760? and WIXY 1260. Either way, all the hits!
It's starting to come together...