Page 10 of 23
Re: CKWA/KWHA Part II
Posted: Thu Jun 25, 2009 6:18 pm
by Six Volt
toolbox wrote:Six Volt wrote: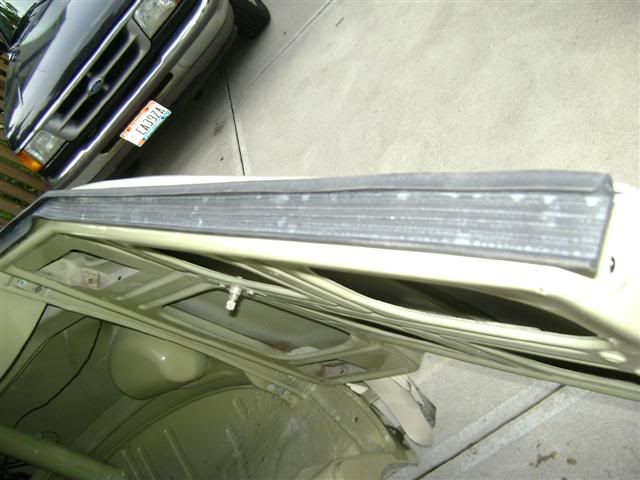
Sean,
You need to notch the seal at the bend in the door top. THis will keep it laying flat and not looking funky when the top is installed. Also did you cut the drain holes in the door top rubber?
Yes Ted, I notched out the bend and cut clean holes for the upper mounting bolts and frame assembley. I've got to check on that door top rubber piece and the location(s) of those holes. Appreciate the advice. I've also got to install the gray weatherstripping on the cab frame. It never ends!

Re: CKWA/KWHA Part II
Posted: Thu Jun 25, 2009 6:58 pm
by 21window
What are "bullet housings"? I may have some of those if they are for the front turn signals tho yours look complete.?
Re: CKWA/KWHA Part II
Posted: Thu Jun 25, 2009 8:06 pm
by Six Volt
21window wrote:What are "bullet housings"? I may have some of those if they are for the front turn signals tho yours look complete.?
I just screwed the lense to the body mounting points. That's why the picture looks complete. There should be a housing that goes over the body. Not sure if the split bus housings are different than the early beetle bullet housings. The part numbers are different, but they were used for some corresponding years. I had at least two sets of these (bus) when I started. Now I seem to only have one single (driver side) housing.
I know I must have them somewhere. The obvious question is where?

Here is what they look like:
http://www.wolfsburgwest.com/cart/Detai ... =211953163
I'll keep looking. Everything is all over the place right now with the "Mrs. G" project. I need a full day to clean everything up.
Re: CKWA/KWHA Part II
Posted: Thu Jun 25, 2009 8:09 pm
by 21window
I should have a left and a right from a 58. you are welcome to them.
Re: CKWA/KWHA Part II
Posted: Thu Jun 25, 2009 8:16 pm
by toolbox
Six Volt wrote:toolbox wrote:Six Volt wrote:
Sean,
You need to notch the seal at the bend in the door top. THis will keep it laying flat and not looking funky when the top is installed. Also did you cut the drain holes in the door top rubber?
Yes Ted, I notched out the bend and cut clean holes for the upper mounting bolts and frame assembley. I've got to check on that door top rubber piece and the location(s) of those holes. Appreciate the advice. I've also got to install the gray weatherstripping on the cab frame. It never ends!
There should be drain holes in the rubber that match holes in the door top and the window frame. Water drains from the silder channel, through the door to the hole on top of the dogleg. Now you know why doglegs rot.
Re: CKWA/KWHA Part II
Posted: Thu Jun 25, 2009 8:18 pm
by Six Volt
21window wrote:I should have a left and a right from a 58. you are welcome to them.
Appreciate that Greg. I'll look for mine one more time. If I can't find them, I'll come out your way when you say. If you need something I may have, let me know, or let me know what you want for them. They are starting to get a little pricey on the net.
Also, thanks for that info Ted. The last theng I want to deal with again are rusty doglegs.
Re: CKWA/KWHA Part II
Posted: Fri Jun 26, 2009 7:12 am
by Six Volt
For you wiring buffs, it looks like we're moving Kyle's wiring on the '59 to tomorrow (Saturday the 27th) instead of today. We'll probably get going around 11:00am or at least by noon. Anyone who wants to see Kyle in action come on by. We're going to debug a short/battery drain problem as well.
Re: CKWA/KWHA Part II
Posted: Sat Jun 27, 2009 7:32 pm
by Six Volt
Had a great day today with Kyle and the '59. Kyle pretty much 'hooked me up' on all the major stuff. Everything checked out. The third brake light will be a highlight of this bus. It's pretty cool, being 6 volt and all. It even flashes the left and right turn signals thanks to Kyle.

We played around with the electrical on the bus all afternoon. The horn works, although I need to clean or upgrade the contact points. We still have to finish the sconce lights, but I scored some black push button switches for them that Kyle can work with from HD that should be pretty effective.
We cranked it over, but I've got a fuel issue. I either need to put in more gas, prime the fuel pump, or mess witht the accellerator pump and I'll be good to go. With a little starting fluid it cranked right over!
This thing will soon be returned to active duty in the LEAKOIL fleet. Here are a couple of pics...
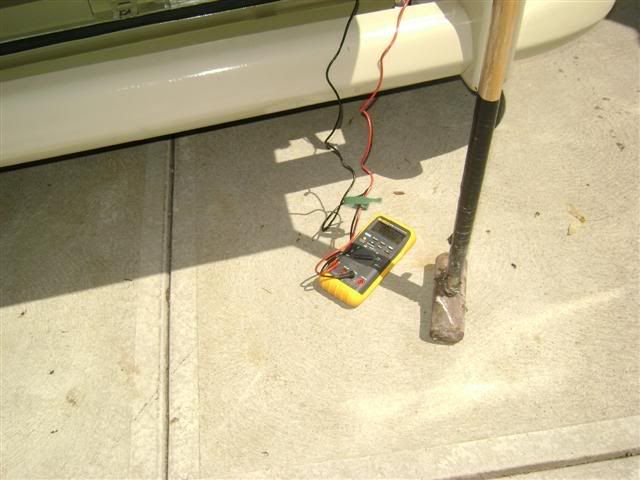
Kyle found the battery drain, but I can't even remember what it was. (We didn't need the sledge!
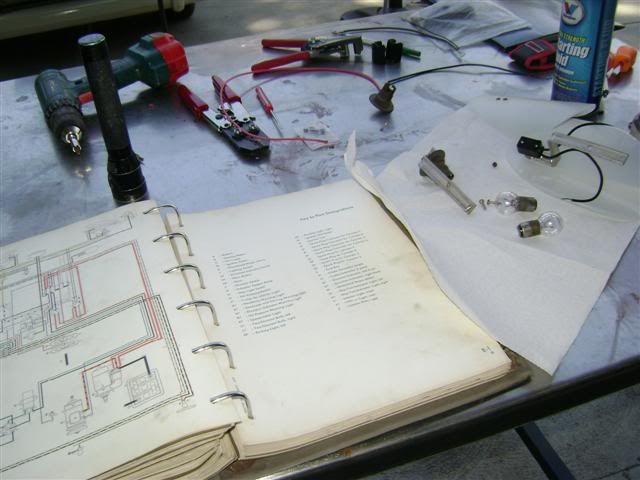
I'm kind of use to Kyle now. I know how he likes to work. I try to set him up with his little "office". He is into the details...
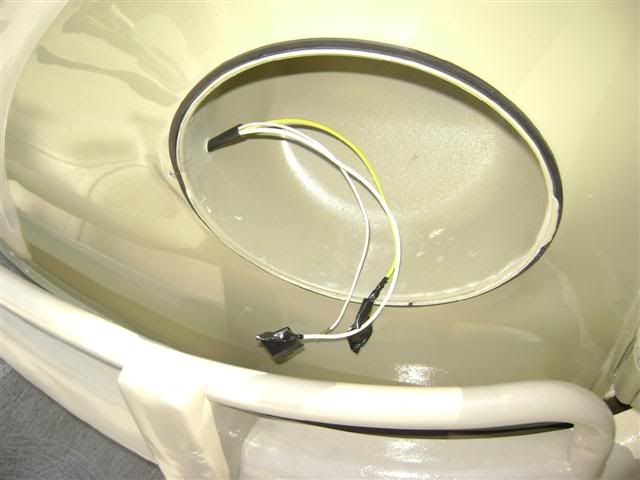
Kyle redid the entire harness. Here's how it looks...

We still have a minor ground issue on the front headlights, but it's all good.
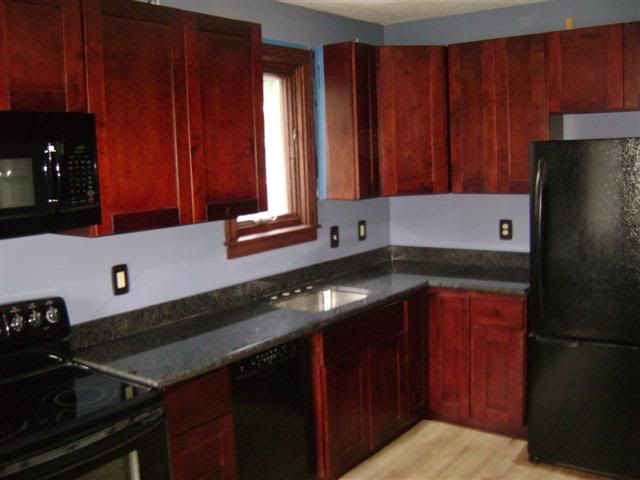
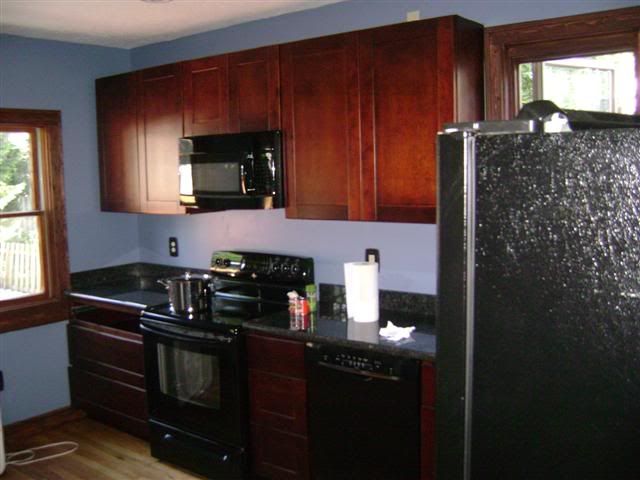
Oh yea, Mrs. G is happy. She has her new kitchen. I guess that means I can buy another bus, if I can save the cash.
Re: CKWA/KWHA Part II
Posted: Sat Jun 27, 2009 9:59 pm
by Howie
EXCELLENT all around! Everything looks good especially that kitchen! Now you can take the rest of the summer "off" like me, and go camping! See you at the Smittie campout in July, bro!
Re: CKWA/KWHA Part II
Posted: Sat Jun 27, 2009 10:03 pm
by Ken
The bus looks great. I hope Carolyn doesn't see Mrs. G's kitchen or I'm in deep do-do