Page 1 of 6

Smittie-Lizzie

Posted: Sat Aug 18, 2012 2:35 pm
by Six Volt
We'll move this to "member's projects" because that's what it's now become.

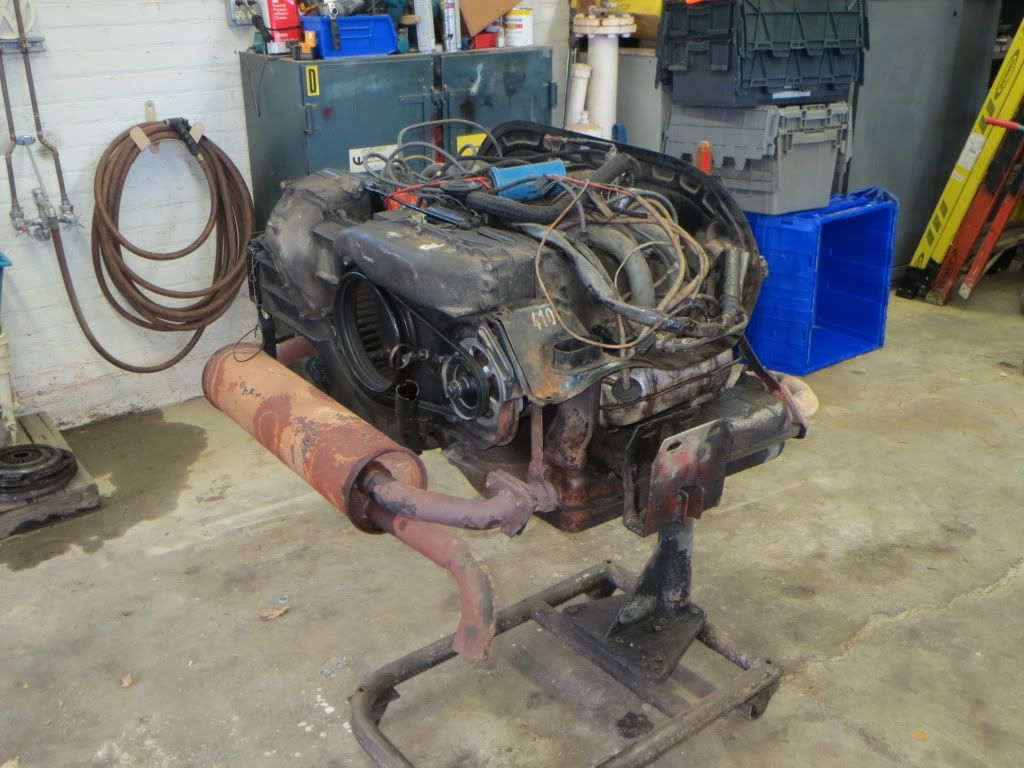
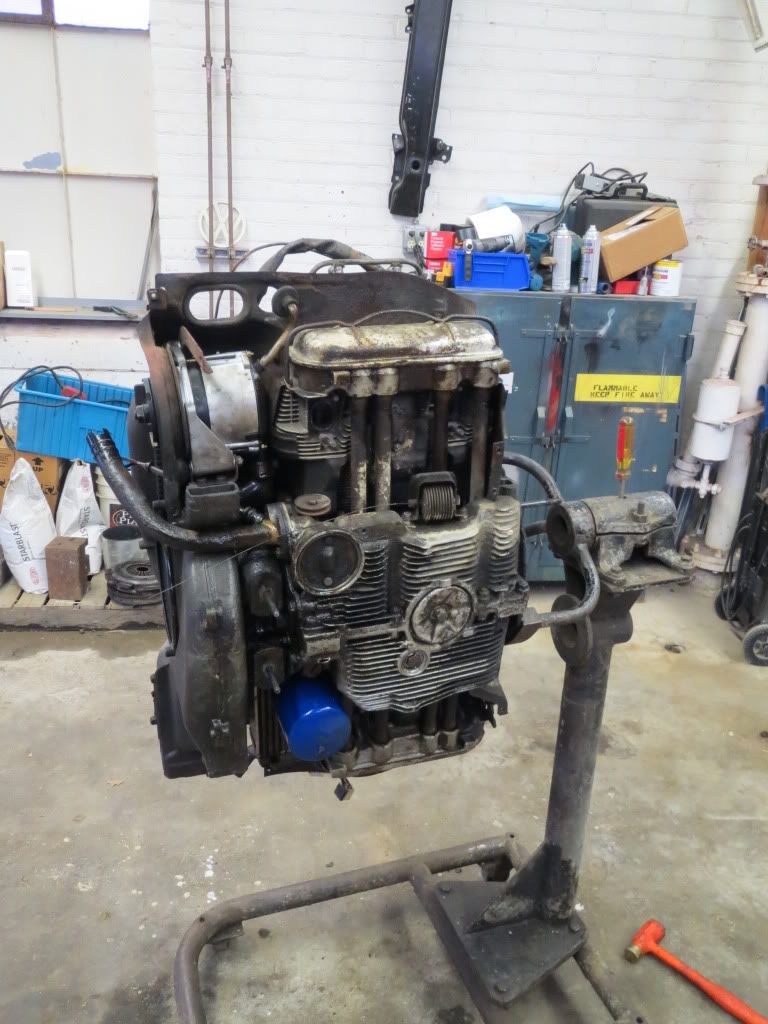
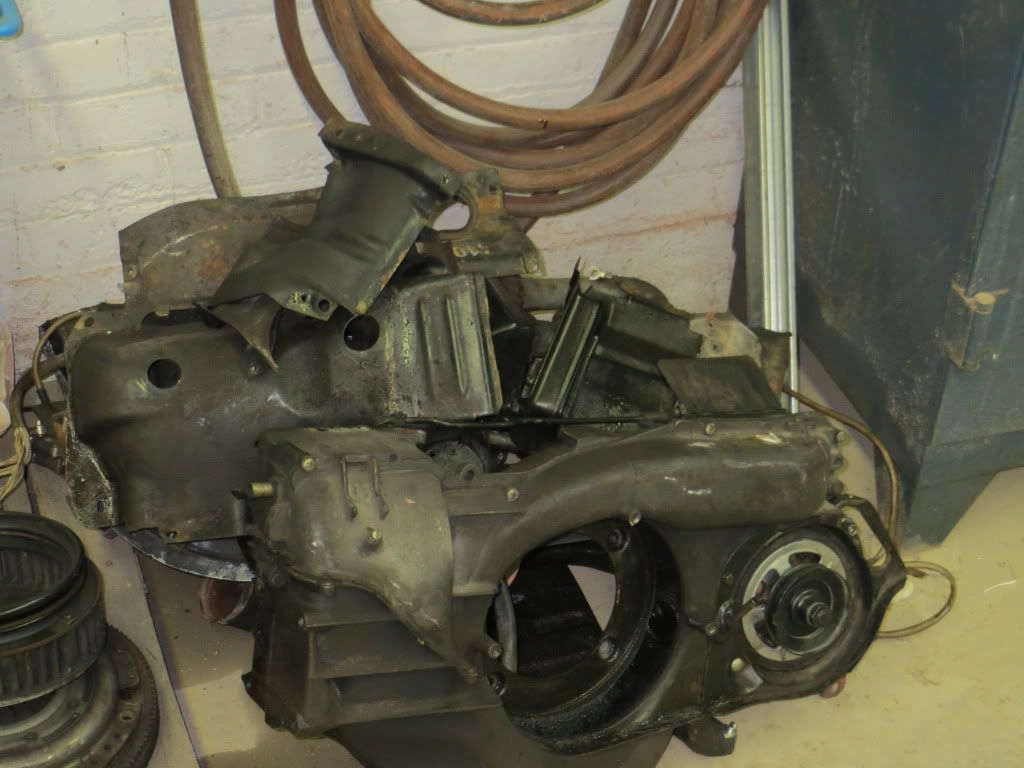
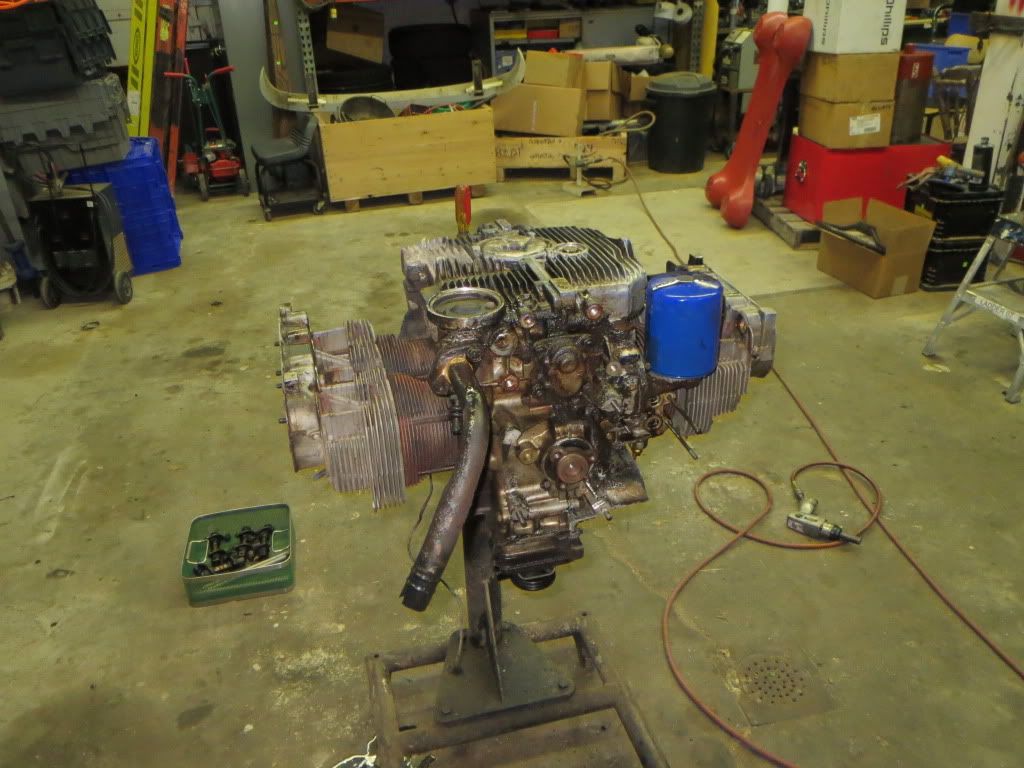
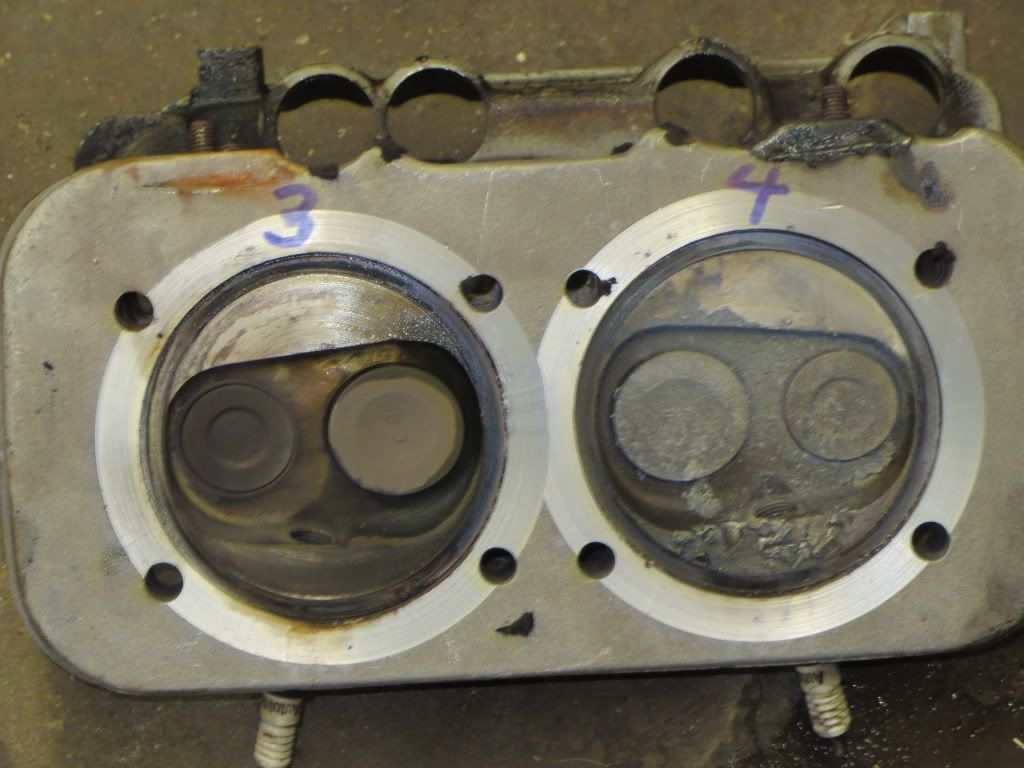
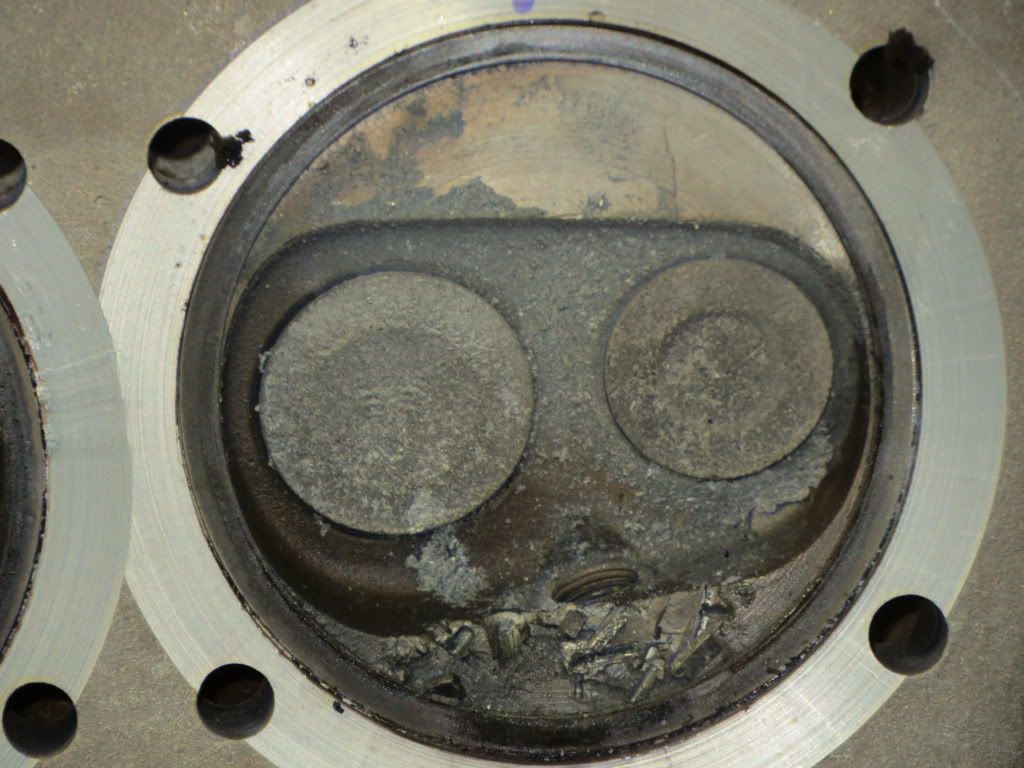
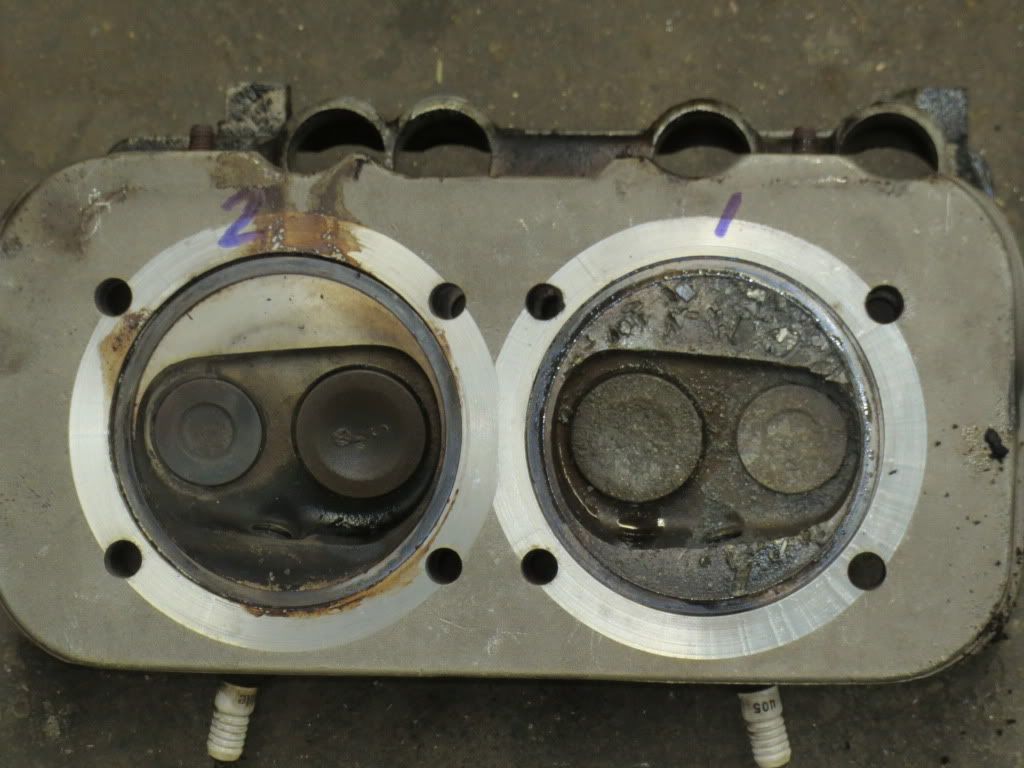
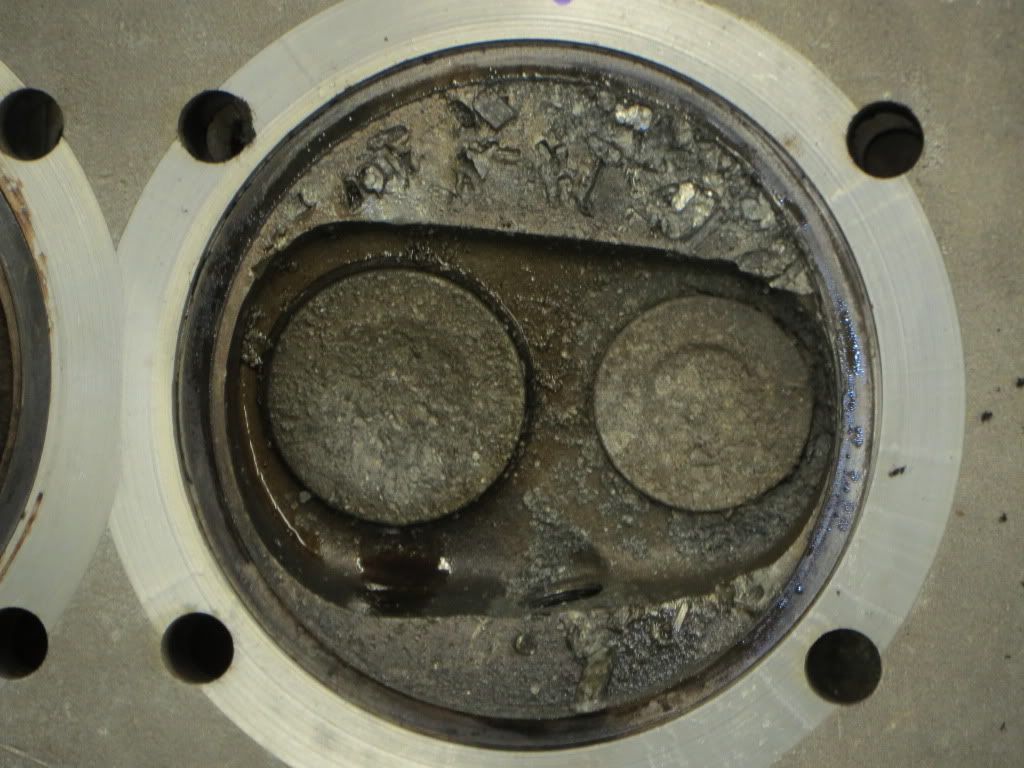
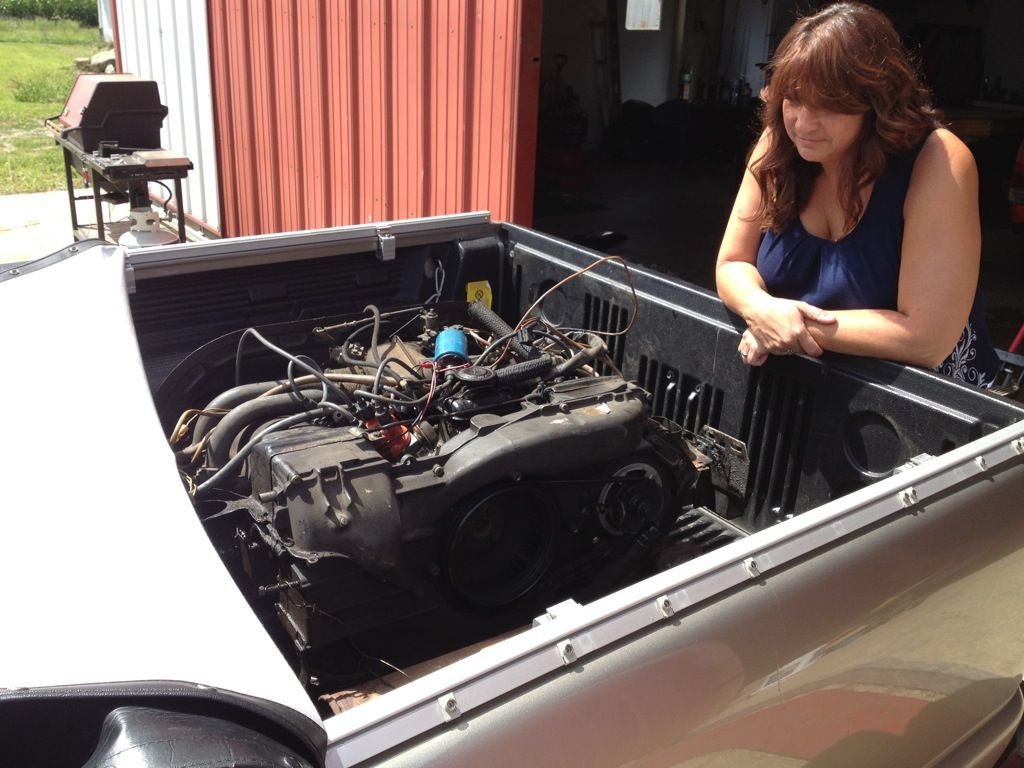
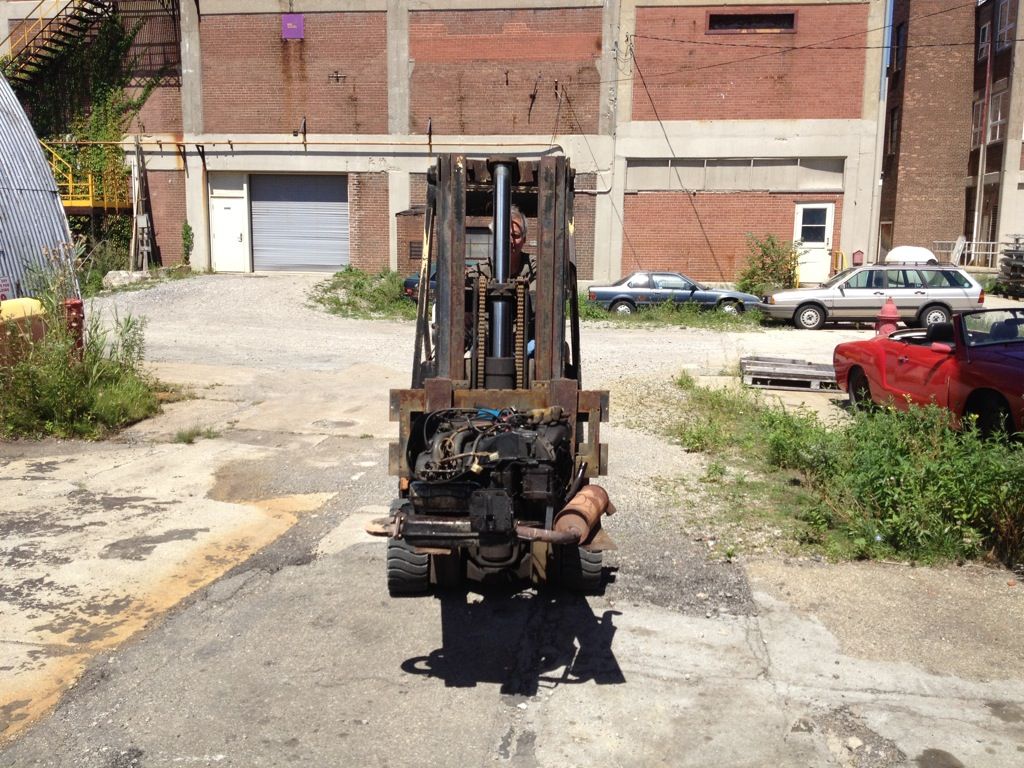
When Chuck calls and "volunteers" you for a task you accept immediately because Chuck is always helping everyone! So I got my S-10 gassed up and ready to go to help Chuck retrieve Smittie's engine for a rebuild Chuck and Bill are undertaking.

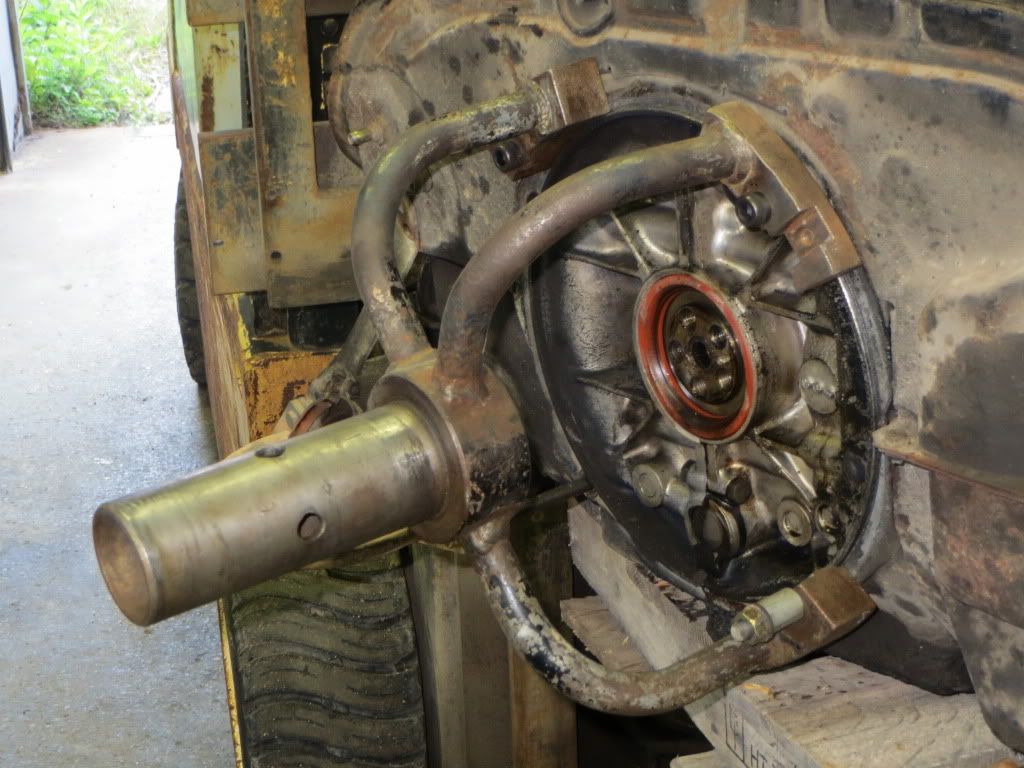
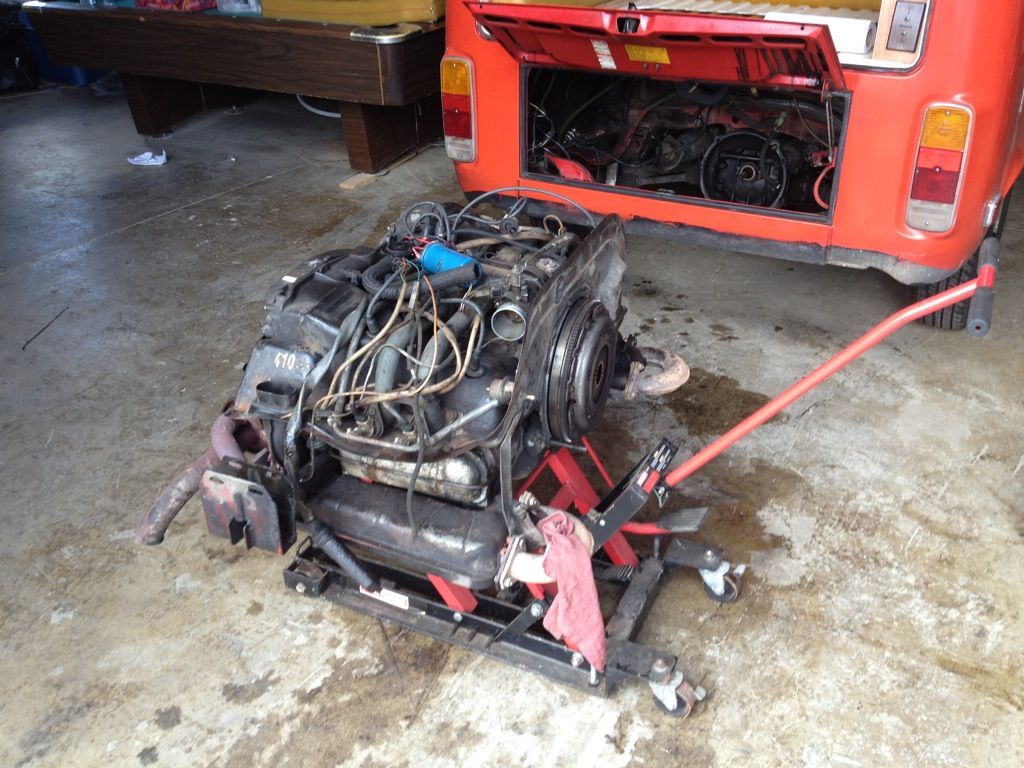
John already pulled the motor, so the pick up was easy.
Image

Image

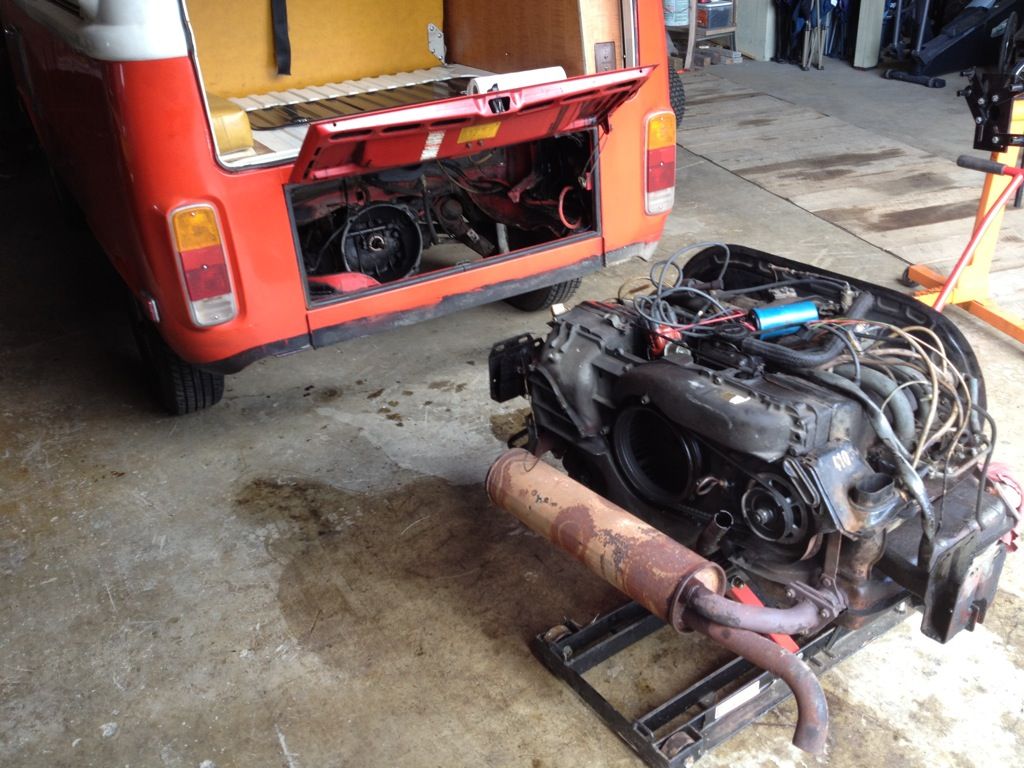
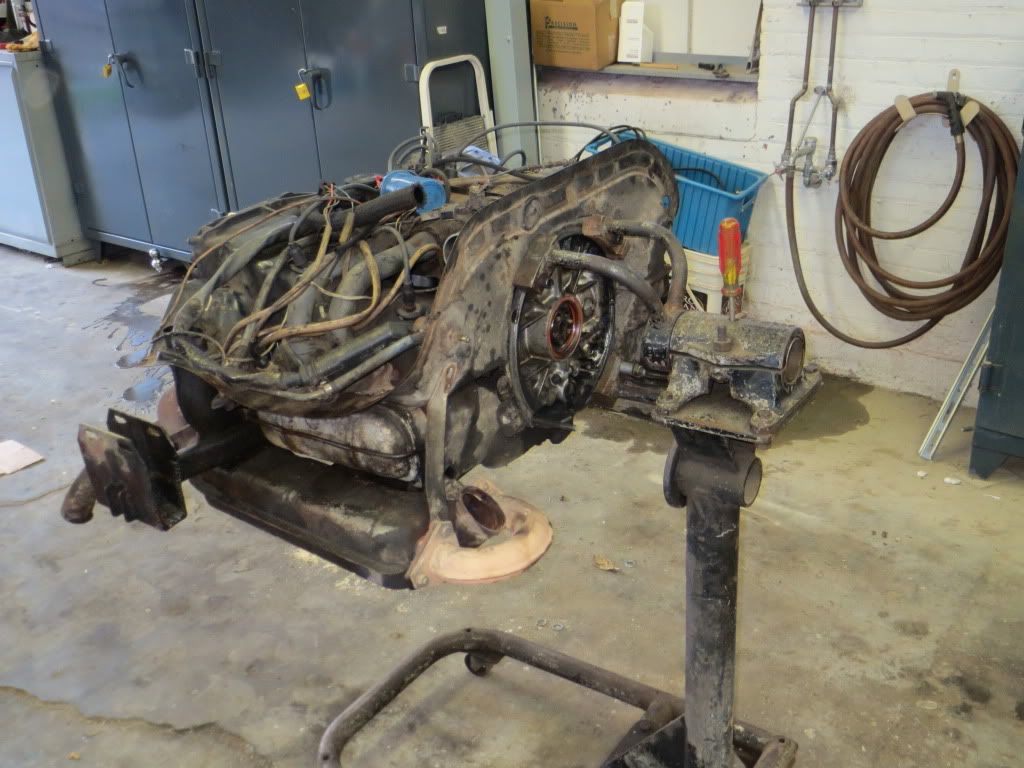
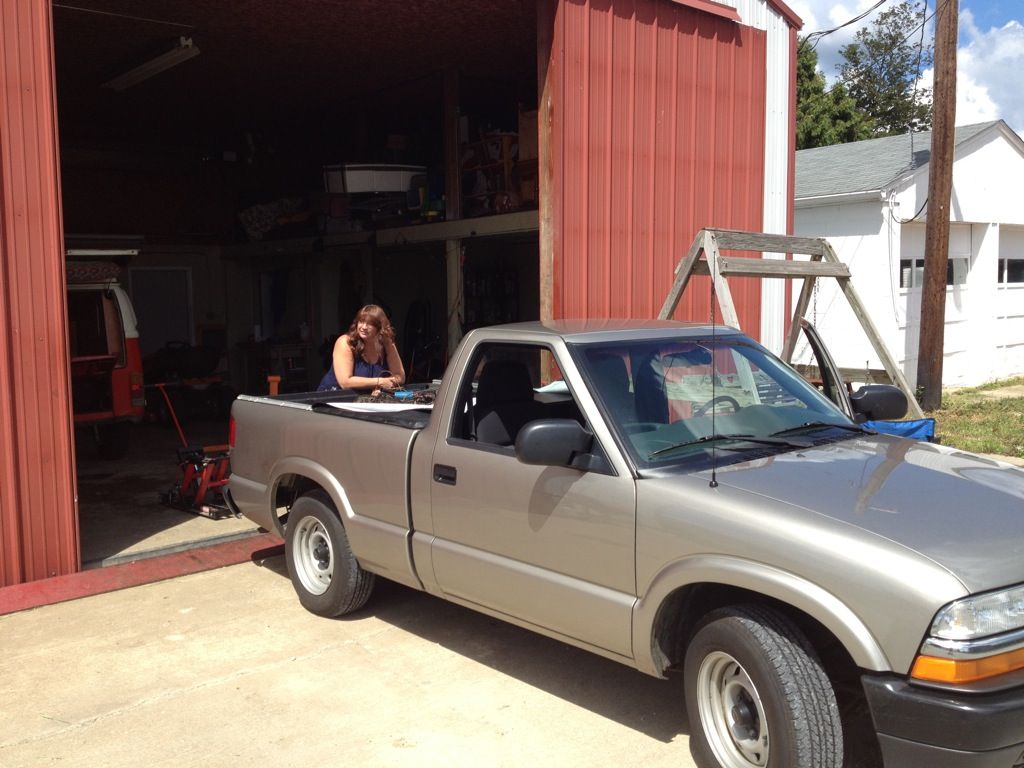
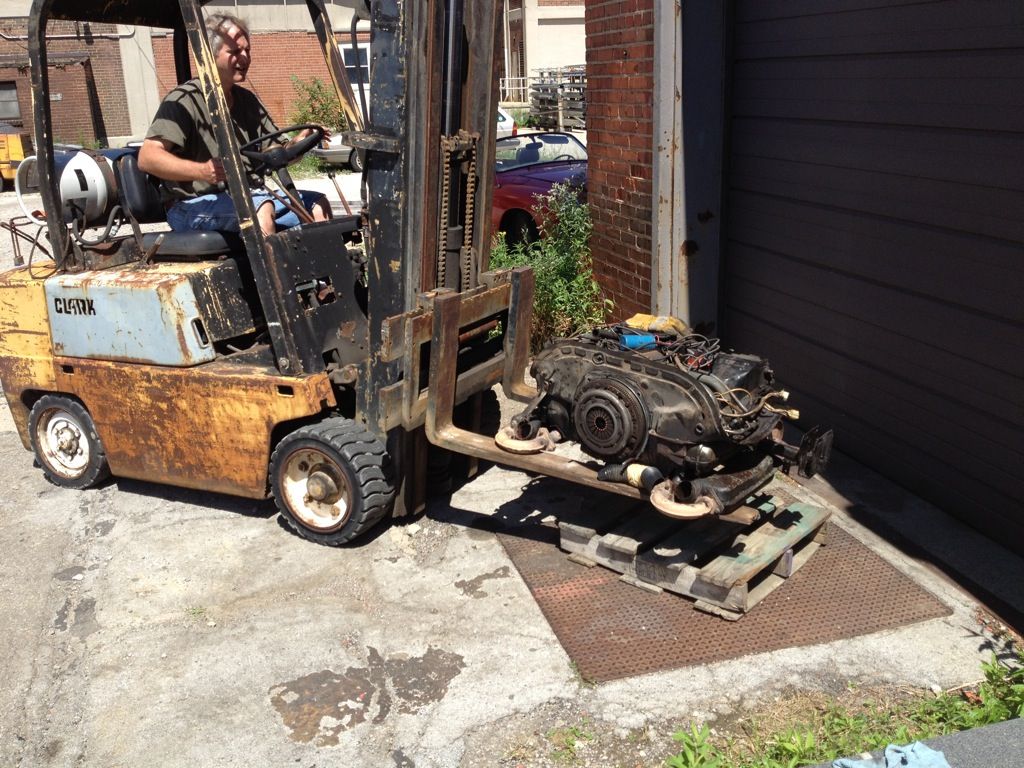
You mean we have to pick it up to get it into the truck bed????

Image

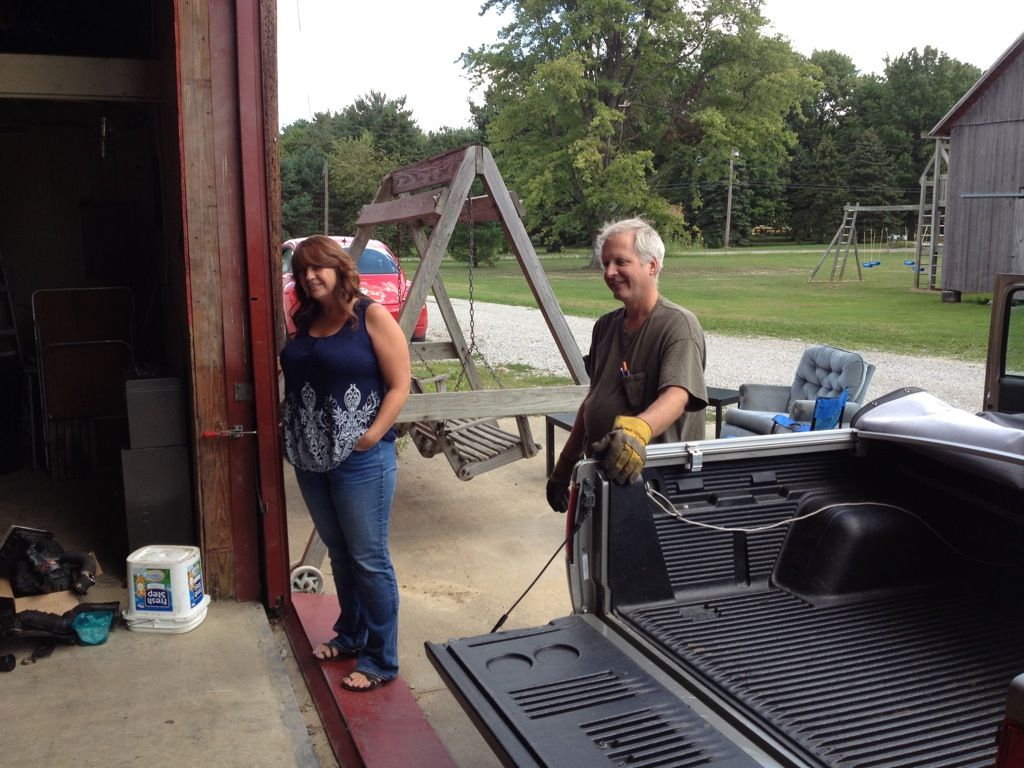
Now you be good while you're gone!

Image

And Sean don't be stopping at any beer joints on the way home!

Image

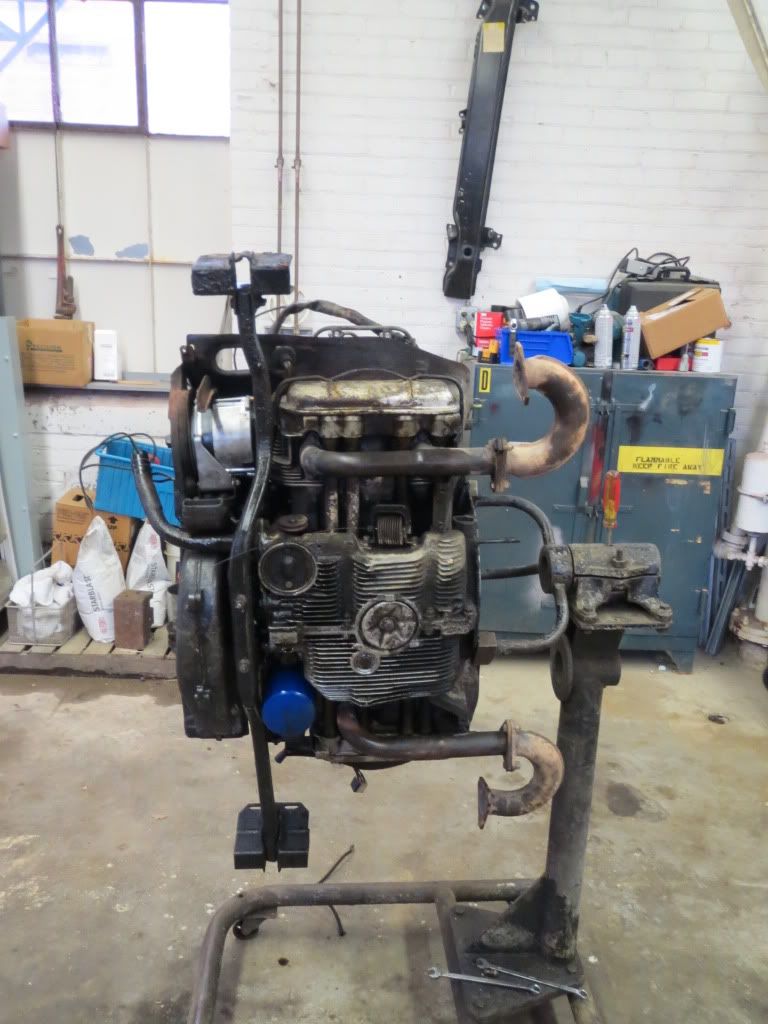
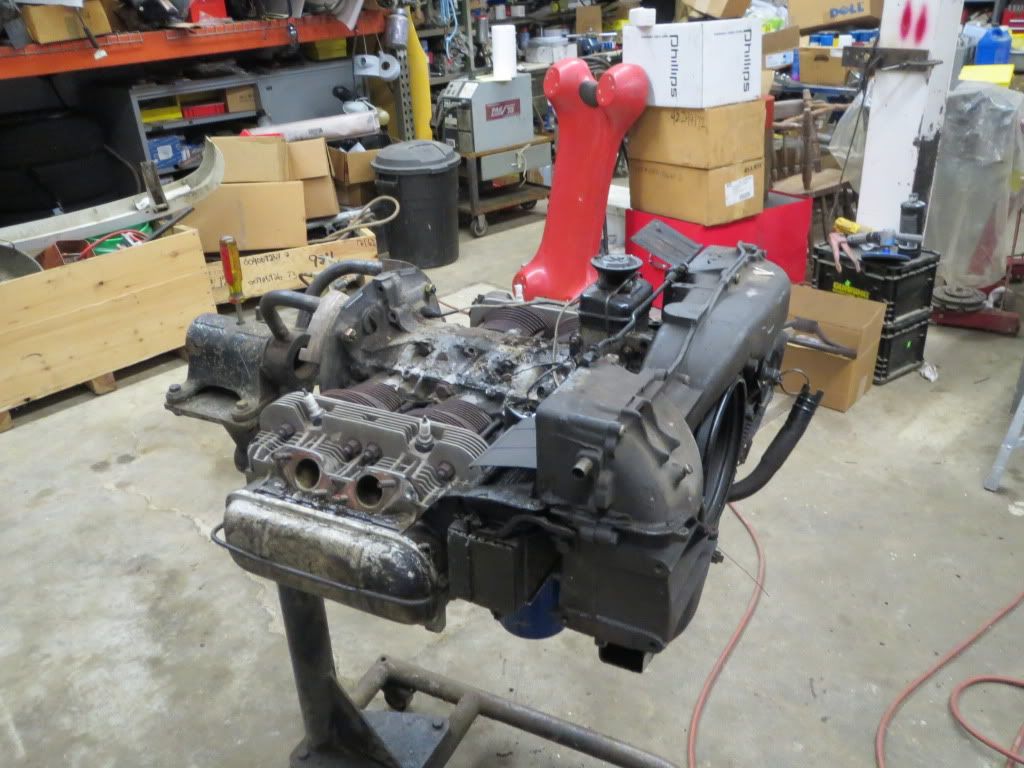
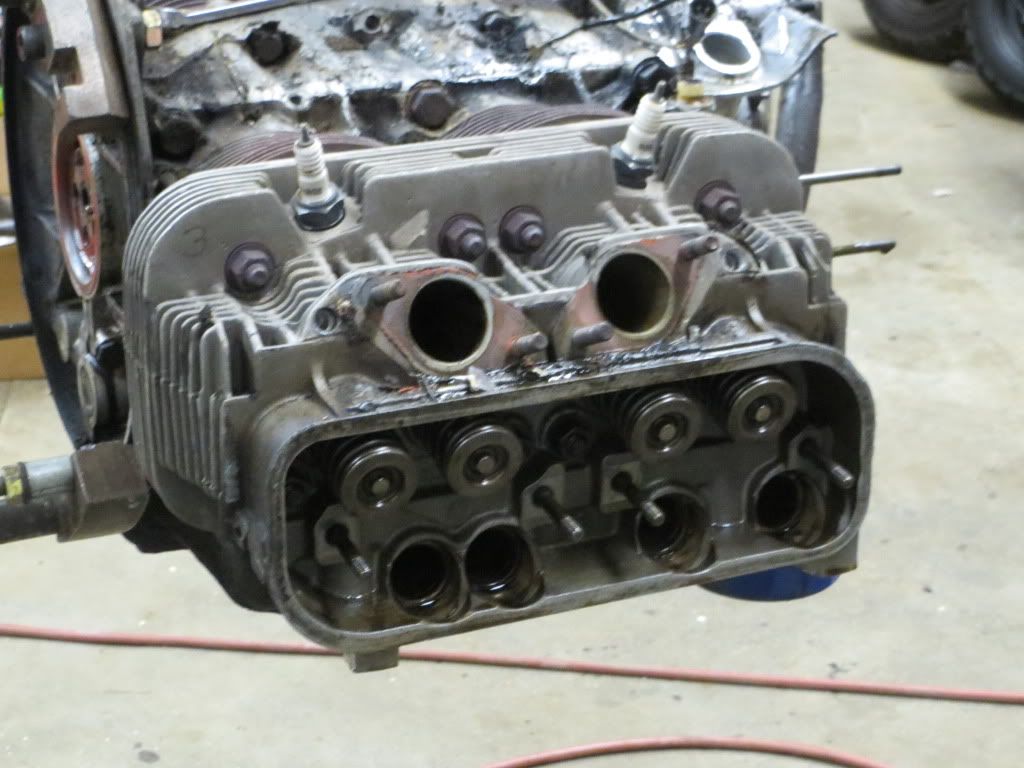
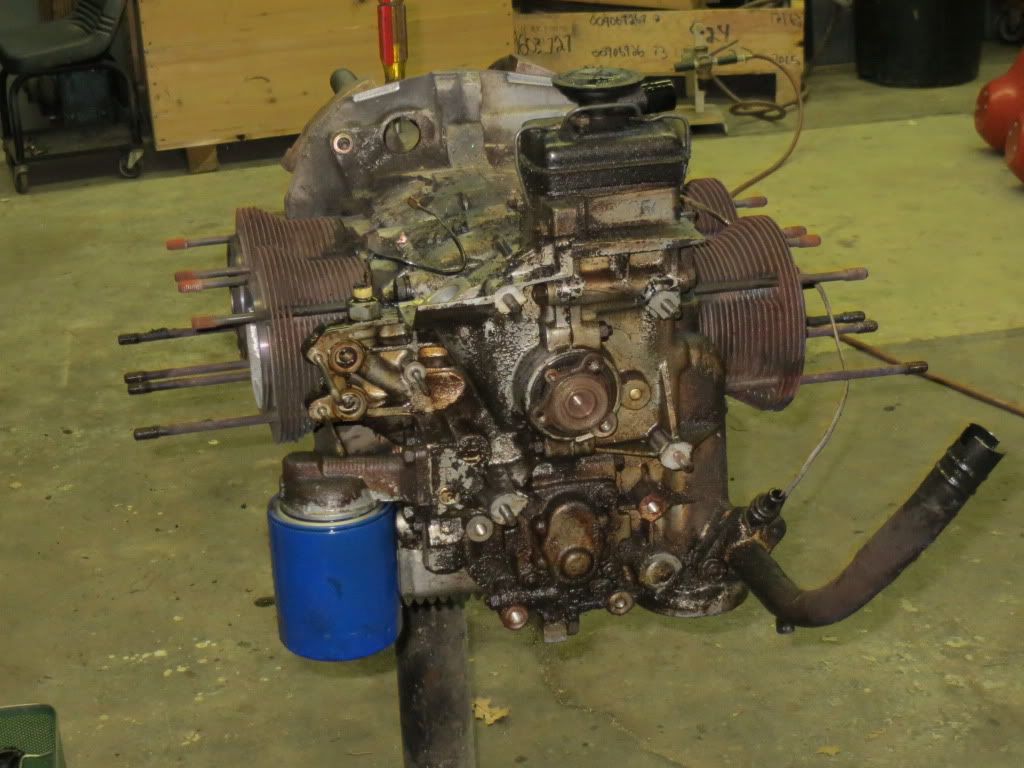
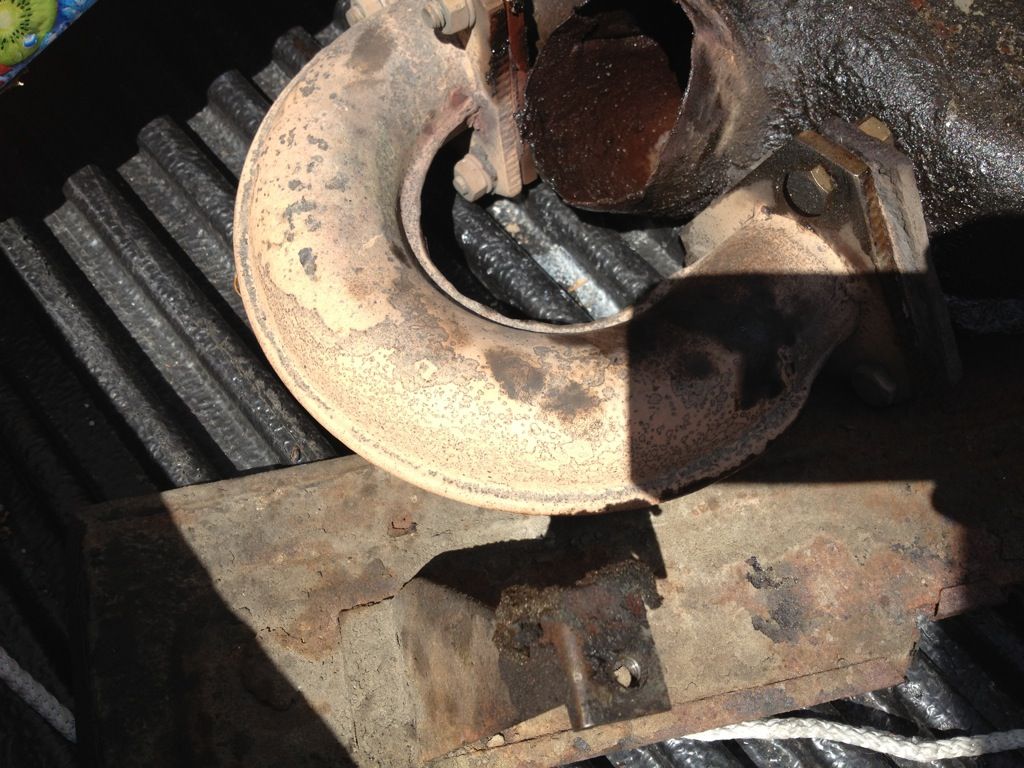
Chuck previously (as in another lifetime) did work on these exhaust flanges.

Image

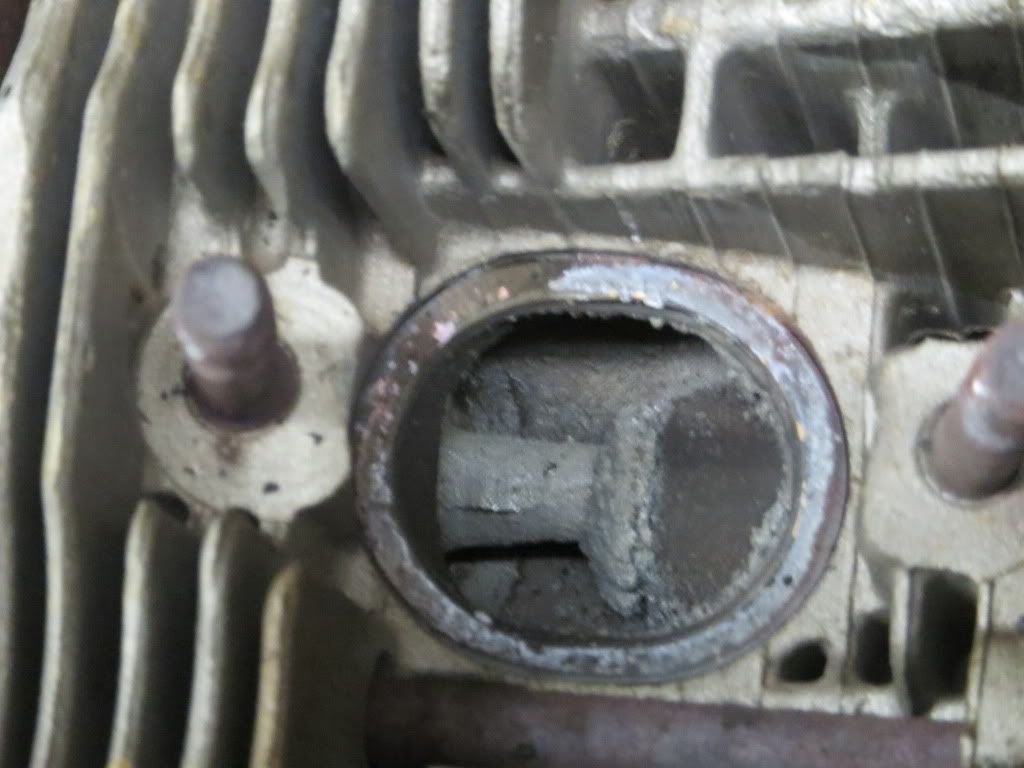
Why didn't we have one of these machines at Smittie's?

Image

Image

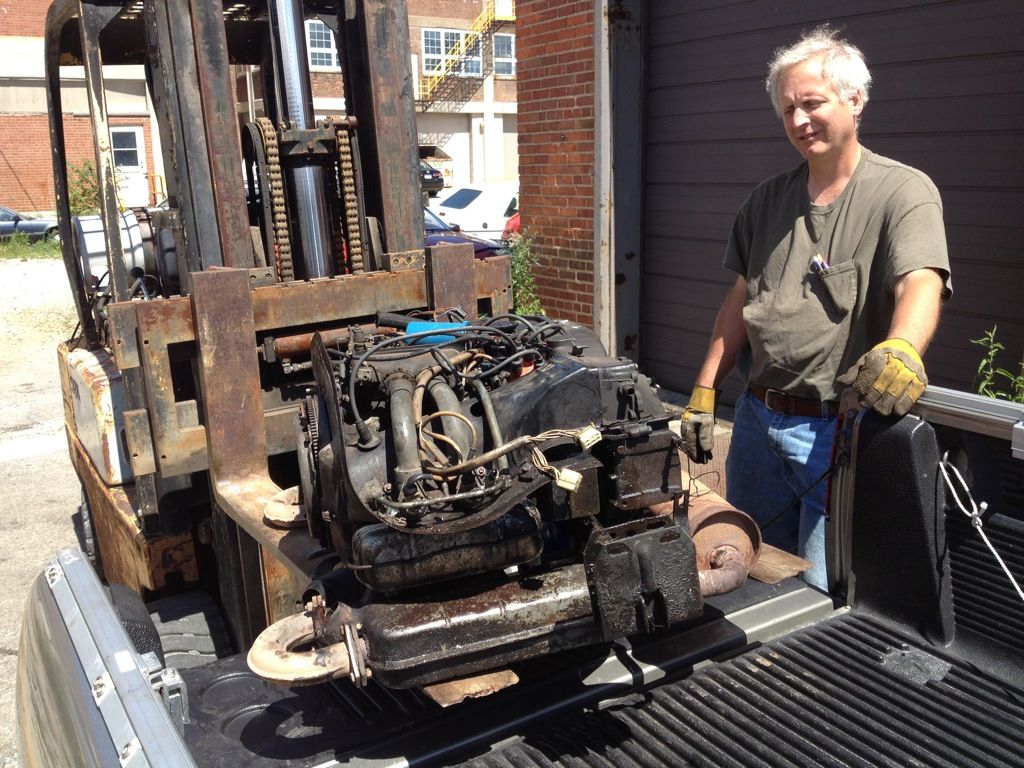
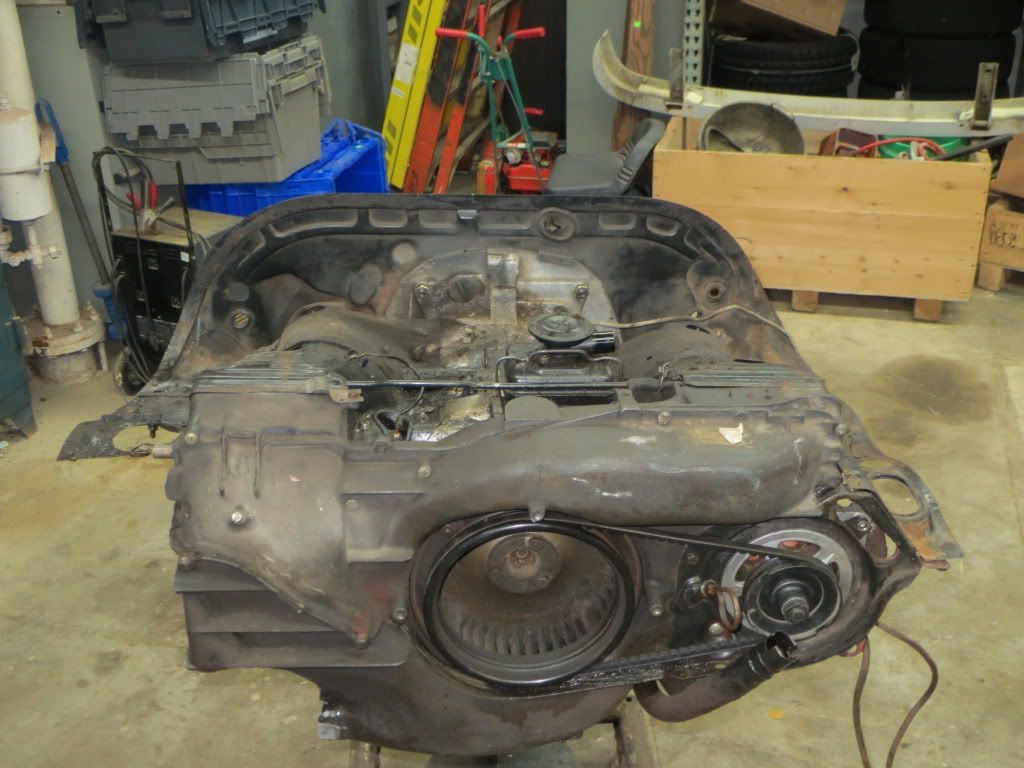
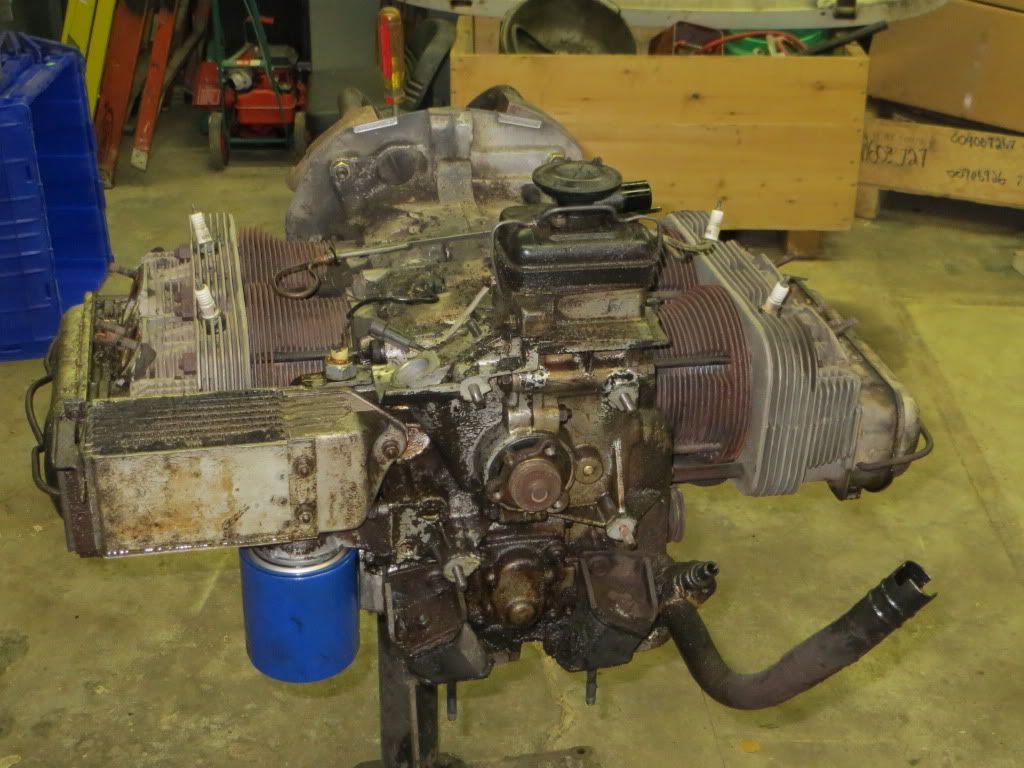
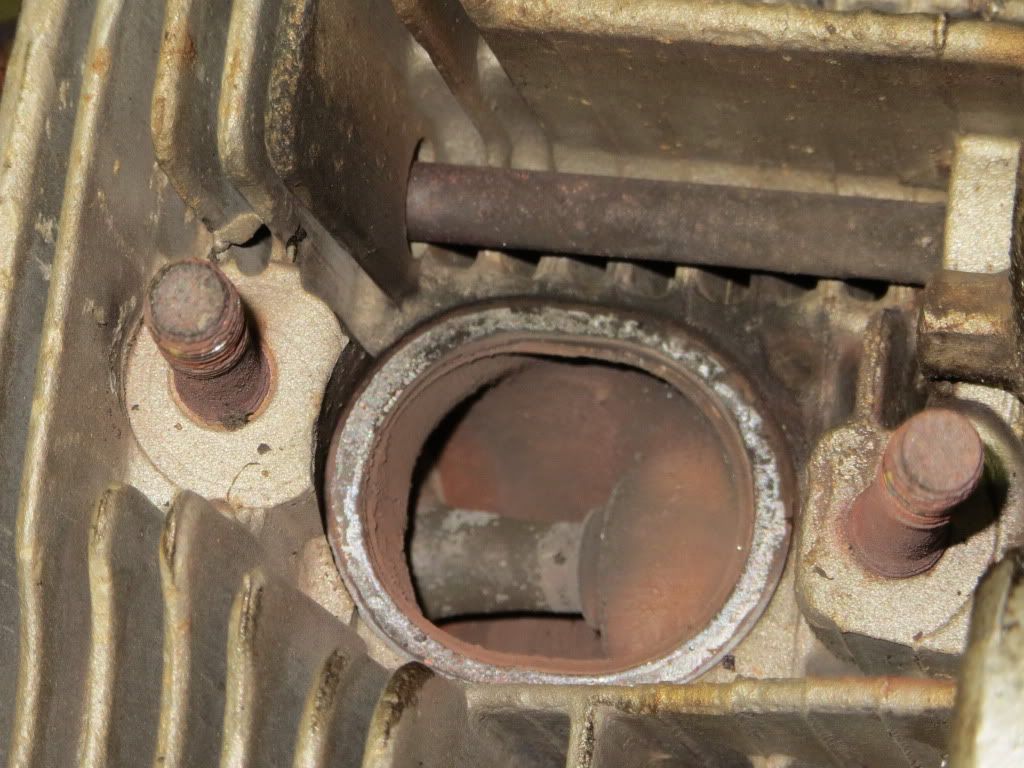
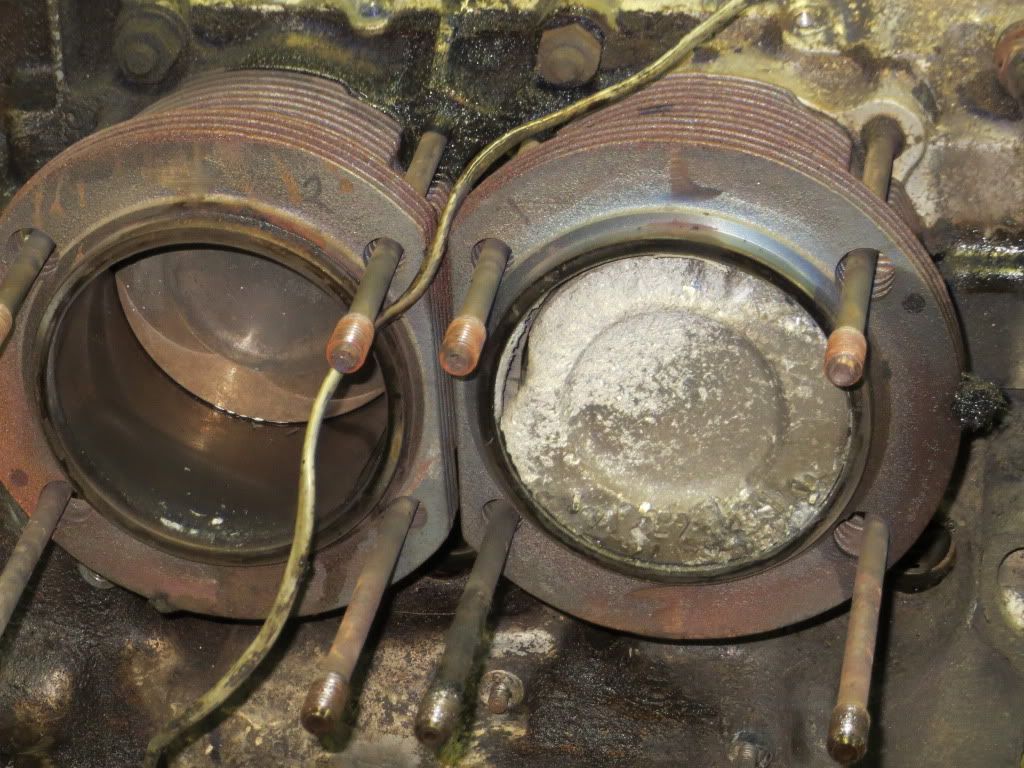
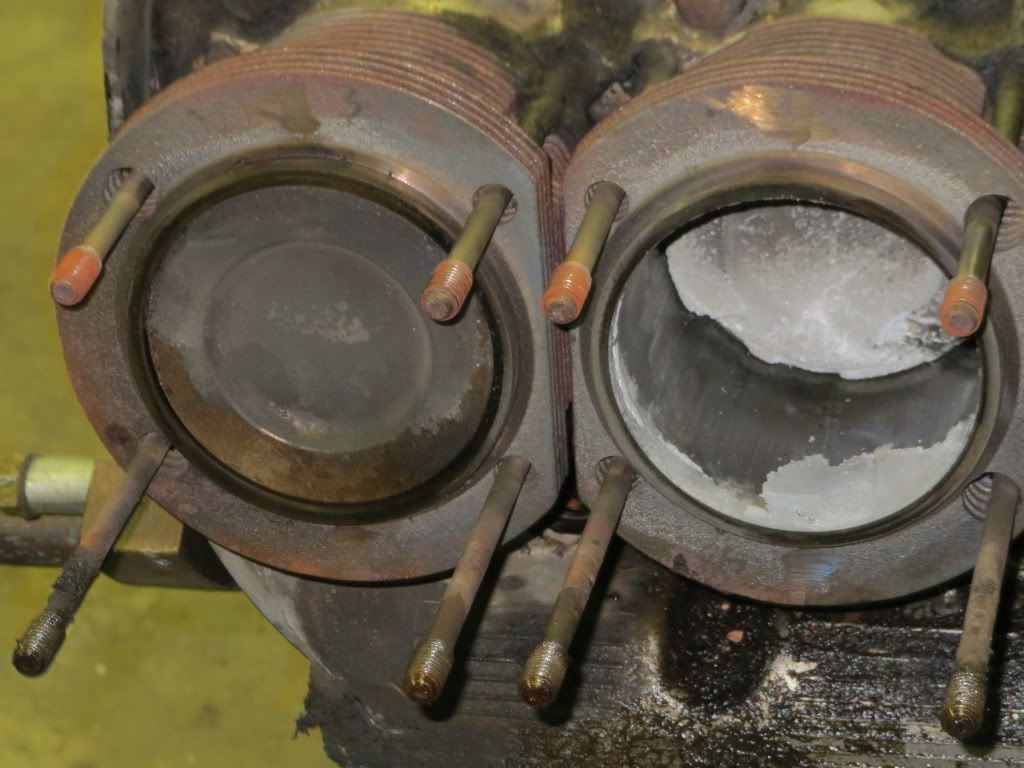
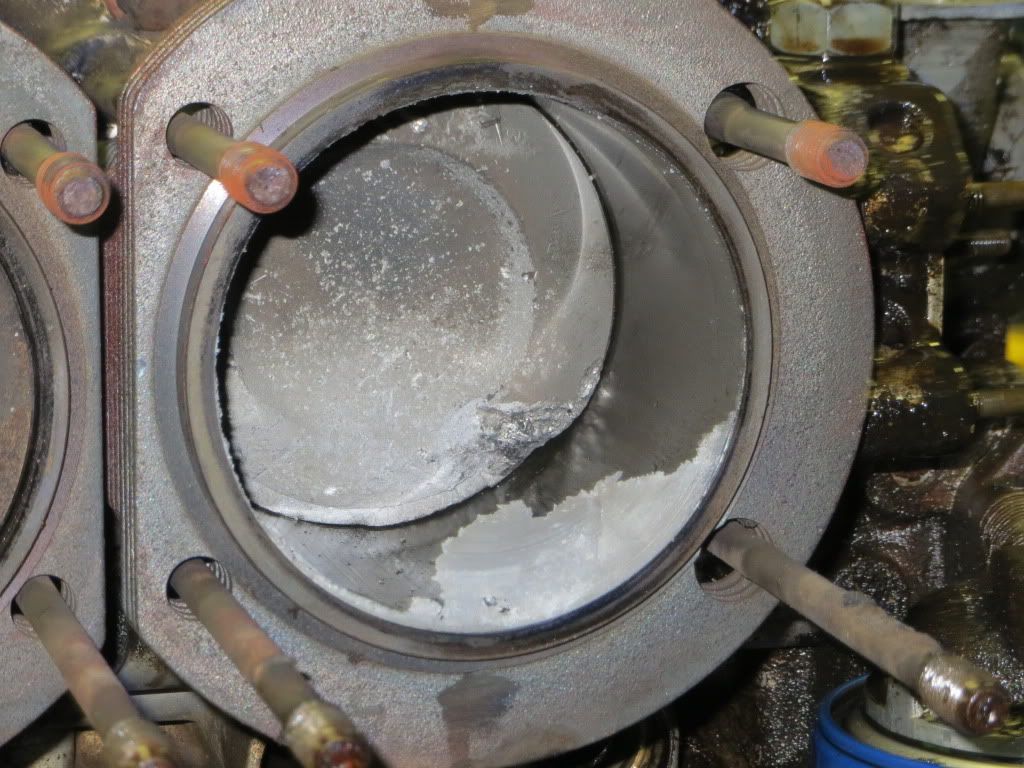
Well, now the fun begins.

Image

Re: Smittie-Lizzie

Posted: Sat Aug 18, 2012 2:55 pm
by wwebner
Way to go John, Chuck and Sean. LEAKOIL in action :D

Re: Smittie-Lizzie

Posted: Sat Aug 18, 2012 7:29 pm
by Lizzie76
Awesome story starter Sean...thanks! I love you guys :D Thanks so much for volunteering to take care of my baby!! I am so lucky to know that she is in the best hands possible!

Soooo excited :D

Re: Smittie-Lizzie

Posted: Mon Aug 20, 2012 12:07 pm
by chuckspence
I started tearing down the Lizzie motor Sunday afternoon, easier to remove the clutch & flywheel prior to mounting on the engine stand...

Image

Image

Image

depending on how the engine was removed you may have to straighten the monunting studs...

Image

Image

Image

Image

At this point turning the engine 90 degrees (sideways) lets me work on the bottom with out the remaining oil leaking everywhere like it does when I turn it 180 degrees (upsidedown), muffler, heat exchangers & exhaust pipes are the next removed items...

Image

Image

Then the engine bearer can be removed from the motor mounts, usually the engine bearer is fastened to the motor mounts with 8 x 1.25mm lock nuts (14mm head)...

Image

Now I remove all the topside clutter (distributor, airbox, intake runners, fuel injection & wire harness)...

Image

And the sheetmetal...

Image

Next the fan, fan schroud & alternator...

Image

The pile is now larger than the engine...

Image

The rockers & pushrods are next, rockers are fastened with 7 x 1mm nuts (11mm head)...

Image

Not looking good, one exhaust port with molten aluminium residue...

Image

One without...

Image

Upsidedown now, pushrod tubes & lower cylinder tins are removed, then the cylinder heads...

Image

Cylinders 1 & 2...

Image

And cylinders 3 & 4...

Image

Image

Image

Image

Image

Image

Short block with P & C's, more to follow...

Image

Re: Smittie-Lizzie

Posted: Mon Aug 20, 2012 1:46 pm
by wwebner
Got a little "warm" I think.

Re: Smittie-Lizzie

Posted: Mon Aug 20, 2012 2:23 pm
by Six Volt
Nice job Chuck! :D

Can you post some blurry pics so I can at least feel like I was there? :lol:

Re: Smittie-Lizzie

Posted: Mon Aug 20, 2012 4:52 pm
by Ken
Chuck sure made that look easy :D

Re: Smittie-Lizzie

Posted: Mon Aug 20, 2012 6:13 pm
by Lizzie76
OH MY :( I DID A BAAAAAAAAAAAADDDD THING :( :( :( :( I feel so bad!!! She looks awful...and melty :( Will you guys EVER LET ME DRIVE HER AGAIN???? I'm a baaaaad bus mommy...guess I need some new learnin' :lol:

Thank you soooo much Chuck for taking this on...what a nightmare!

Re: Smittie-Lizzie

Posted: Mon Aug 20, 2012 9:18 pm
by John
:arrow: no soup for you, :!: :lol: :lol:

Re: Smittie-Lizzie

Posted: Mon Aug 20, 2012 9:48 pm
by Lizzie76
:( :( :( :( :( :(