Well, I had a couple hours this afternoon so I figured I better try to get these headlights together. I had a lot of crusty Hella and VW set ups from '66 and down from both bugs and buses to choose from, (thanks to everyone who helped me out with parts), but I decided to go with the original Hella style, (5pm and 7pm flat blade slot adjuster screws), with the tension bar that were in the original Ovals.
This process is not Widefive approved,

but seeing as how I couldn't find any really nice used ones and the NOS ones are pretty pricey, they'll have to do.
So here's how I did them in case any of you have to go through this down the road. The veterans can point out any of my errors so you don't repeat them.

Oh and always use safety glasses like Kirk always uses. You know, OSHA approved.
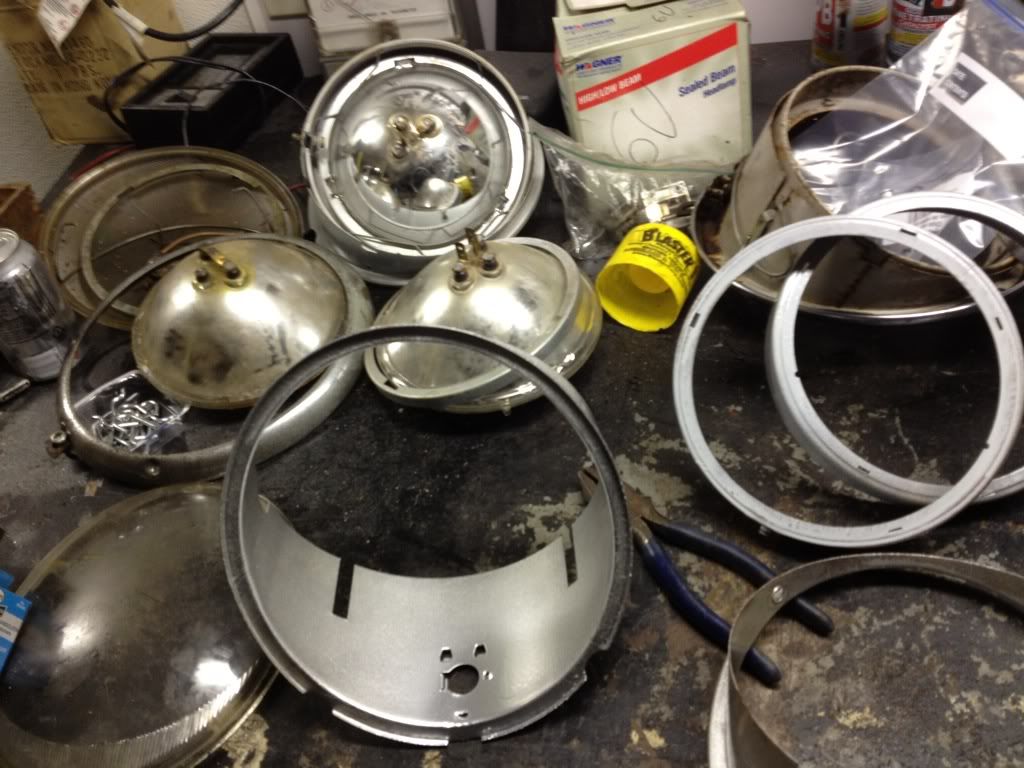
From reading Bruce's tech articles, and seeing how clean & organized Aaron's place is,

I figured I better clear and clean a place to work.
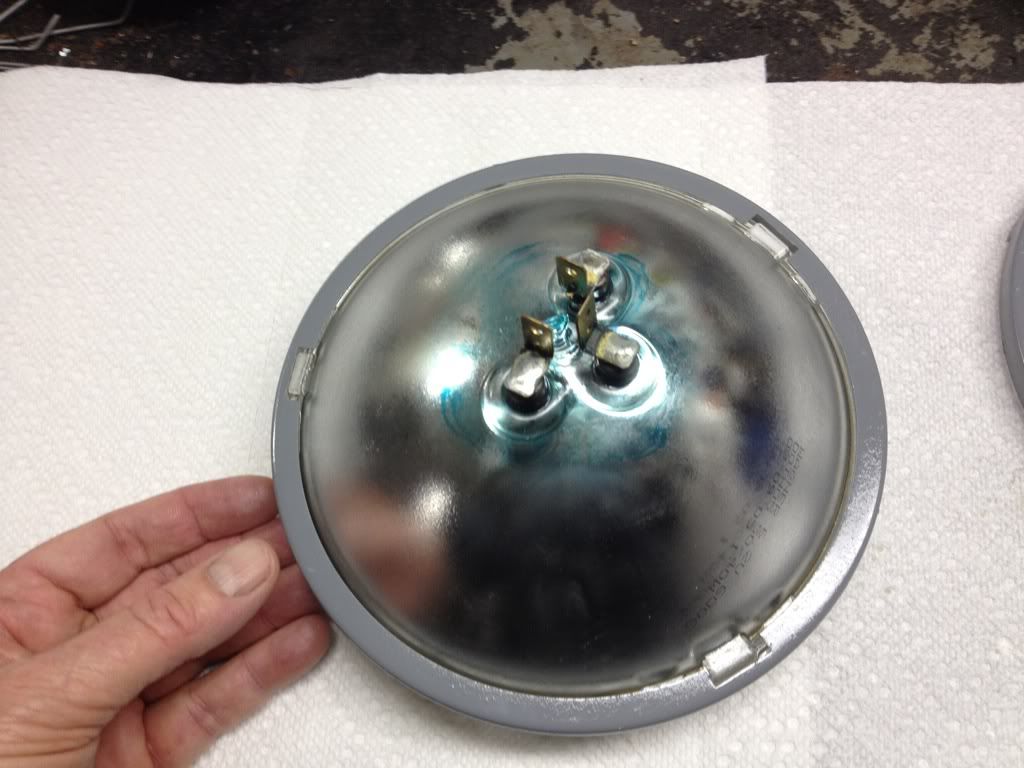
I started out lining up the smaller retainer ring with the bulb. You need to line up the "bumps" on the backside of the bulb with the slots on the ring. But that's only part of it. You also need to think ahead and be sure the logo on the bulb is in the right spot in relation to the housing so it doesn't look stupid when you finished.

Ask me how I know.

And if that isn't enough you also have to be sure the small retainer ring is lined up with larger retainer ring that all goes into the housing.

If you're confused, don't worry, you usually figure it out after about 7 or 8 tries.
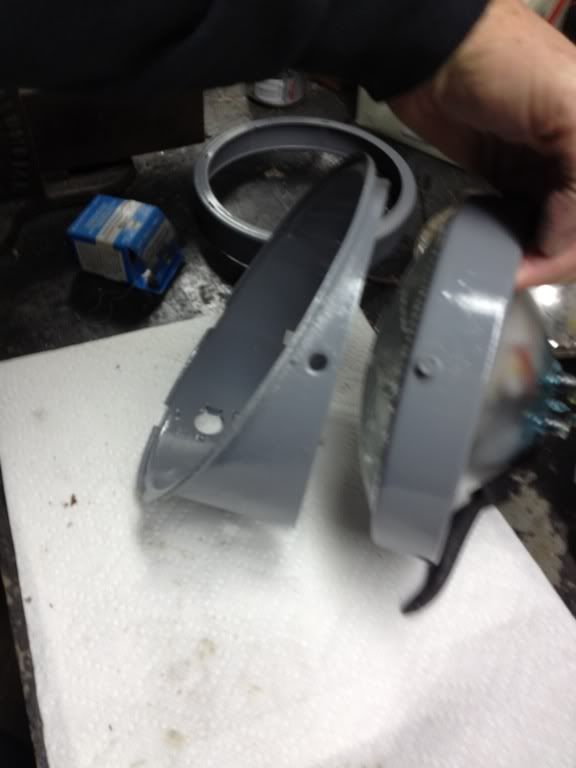
When you mate the smaller ring, (along with the bulb), to the larger retaining ring, you've got to get the tabs in the right spot and also line up the connecting "post" on the larger ring so it all fits together snuggly. Look closely, you can see one of the small tabs in the center of the picture.
You've got to "mate" all three, (small retainer ring, bulb & larger retainer ring), together and be sure the bulb logo is right and the connecting "post" is right. It's not easy because they want to fall apart despite your best efforts to hold them together.

Now the fun part. You've got to hold it all together in your lap to get theose *&%$#@ clips in palce to hold it all together.

Those little buggers like to fly, (incoming!), so be careful and be ready to hit the deck of one of them gets away from you. There are basically two kinds of clips. This part uses the ones I call "V" clips because they have a "V" on one side. Here's how you put them in.
You put the "V" side under the rim then force the other side under the rim.
Hopefully, you still have both your eyes when you get them in.

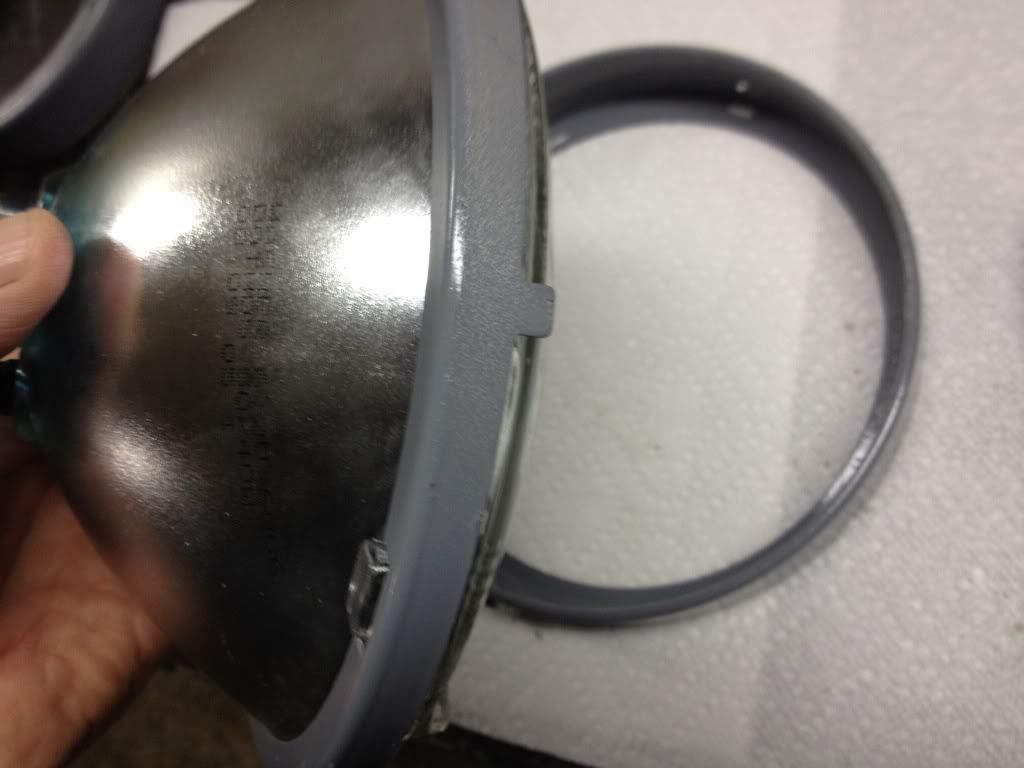
So now we've got to mate the bulb and retainers to the main housing. Look closely and you'll see the hole in the main housing and the post on the retainer where the two come together.
You need a rubber washer and "C" clip to put them together. (I found acceptable replacements at Loew's)
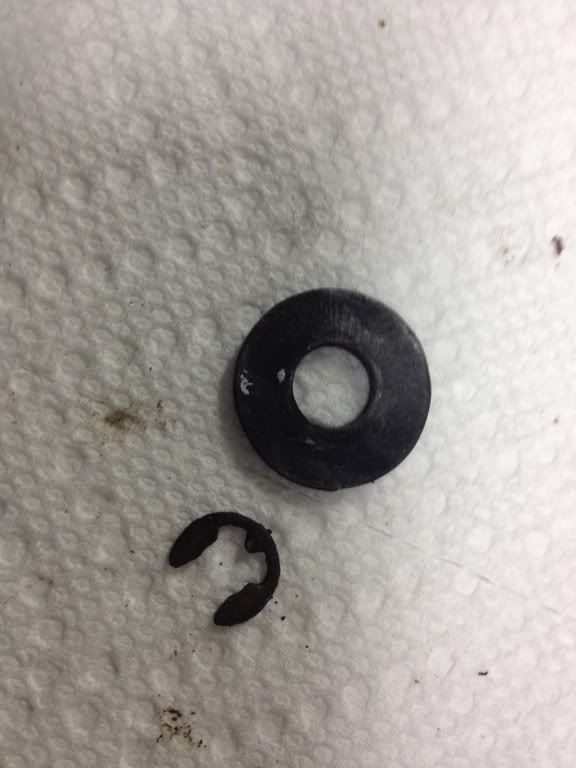
Here is the "post" in the hole with the "C" clip about to go on. Gee I wish I had a sandblasting cabinet like Kirk. I should have done a better job on that, but it was pretty crusty and it won't be seen.
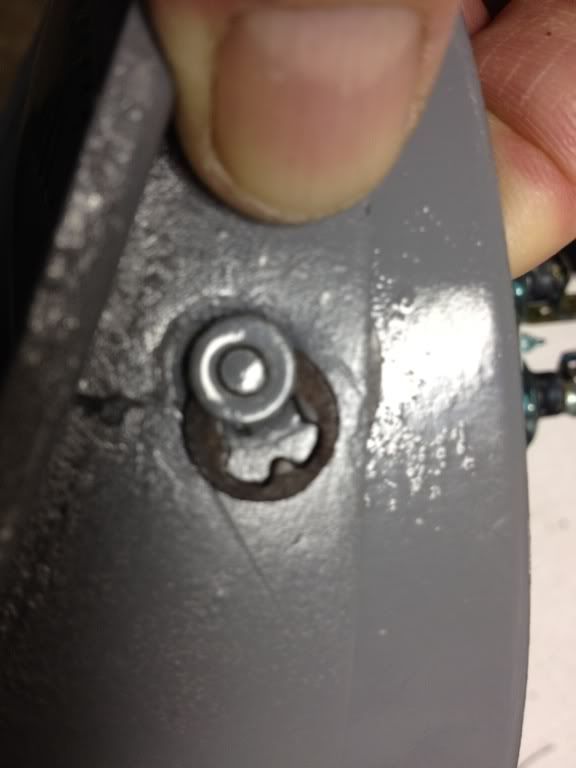
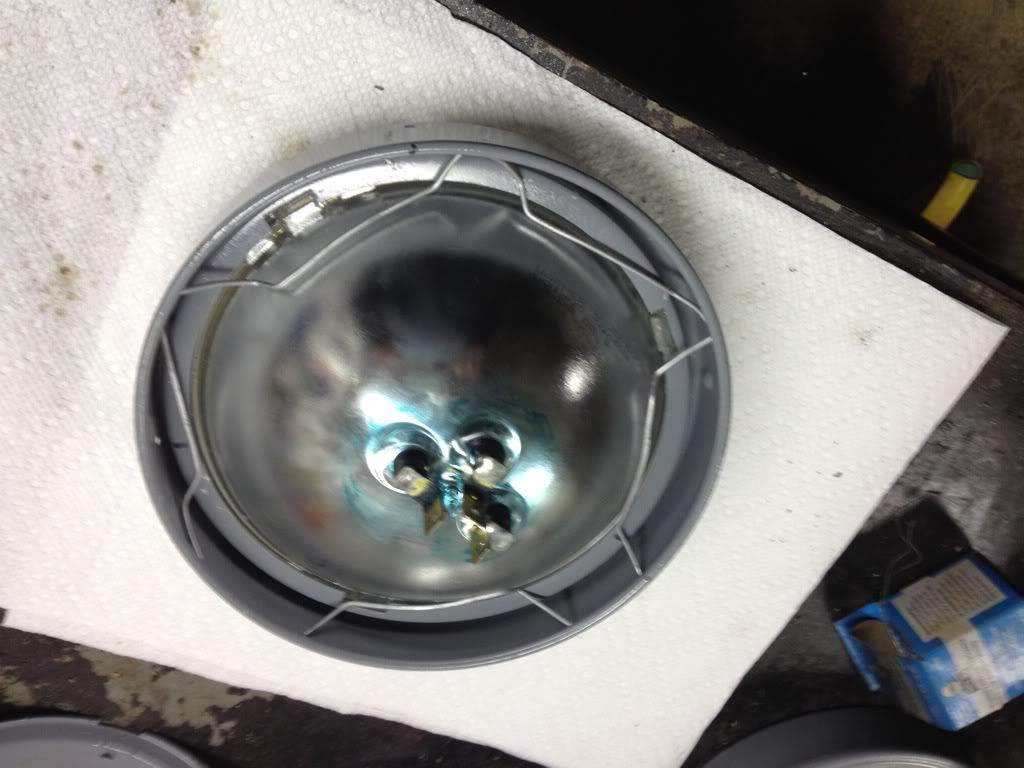
Once attached the bulb housing is now "attached" to the main housing.
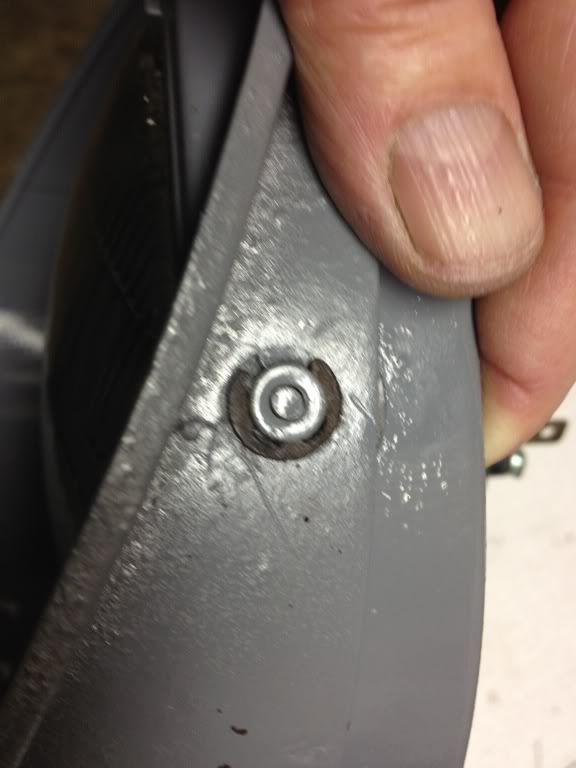
You can see how the little rubber washer gives you both cushion and separation.
Before moving on you've got to check and make sure your bulb is centered properly with the logo in the right spot. Ask me how I know.
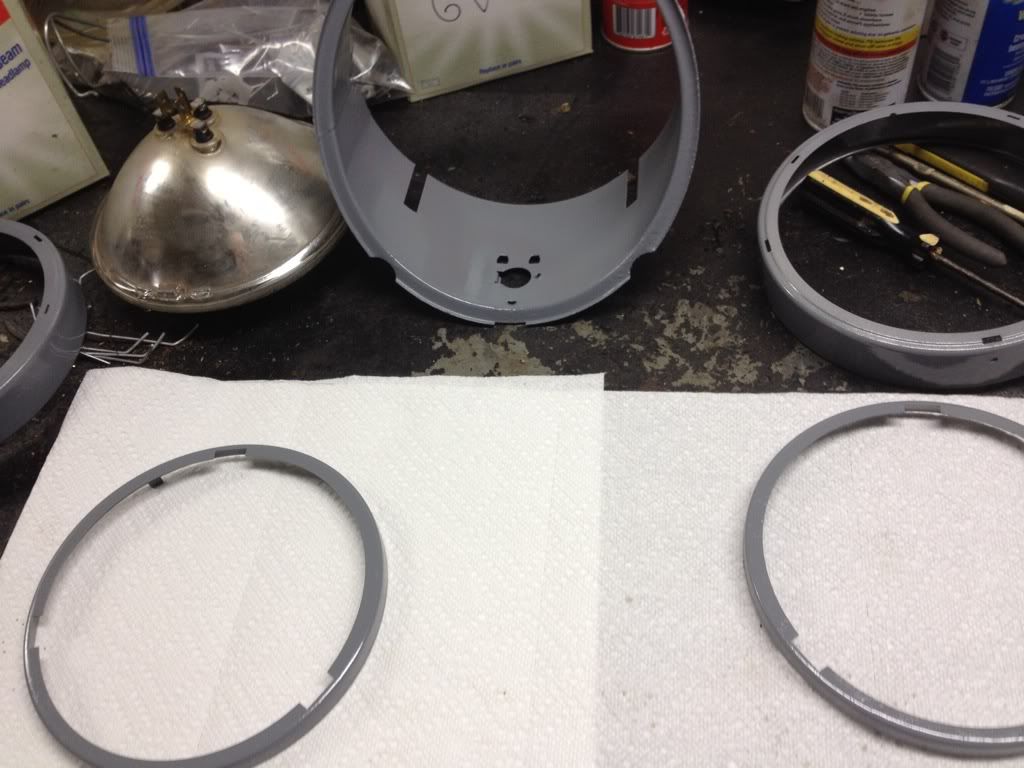
Now you can clean you glass and put your new rubber seal on. I got mine from WCM.
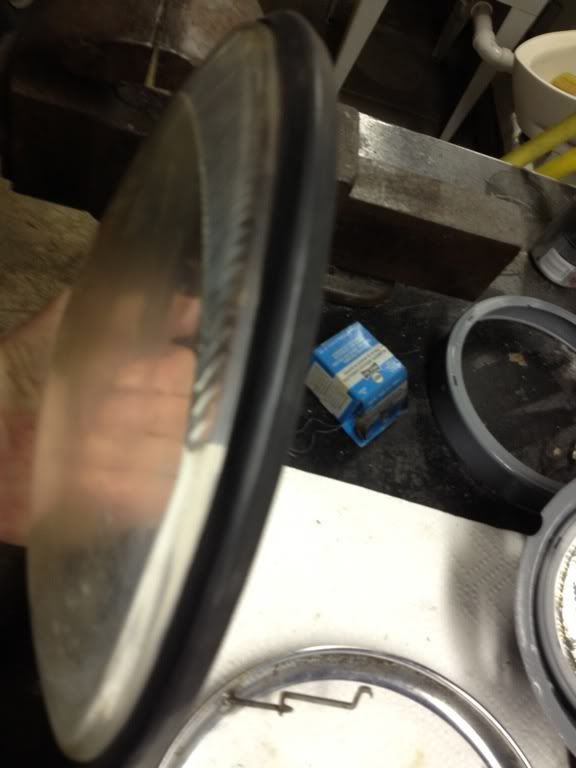
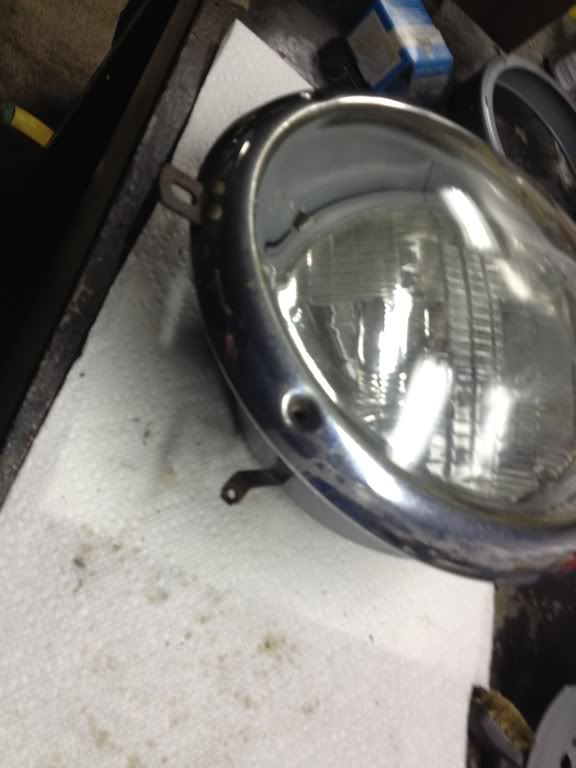
Next is get your outer chrome ring and clean it up with Brillo or SOS and put the glass with it to line it up.
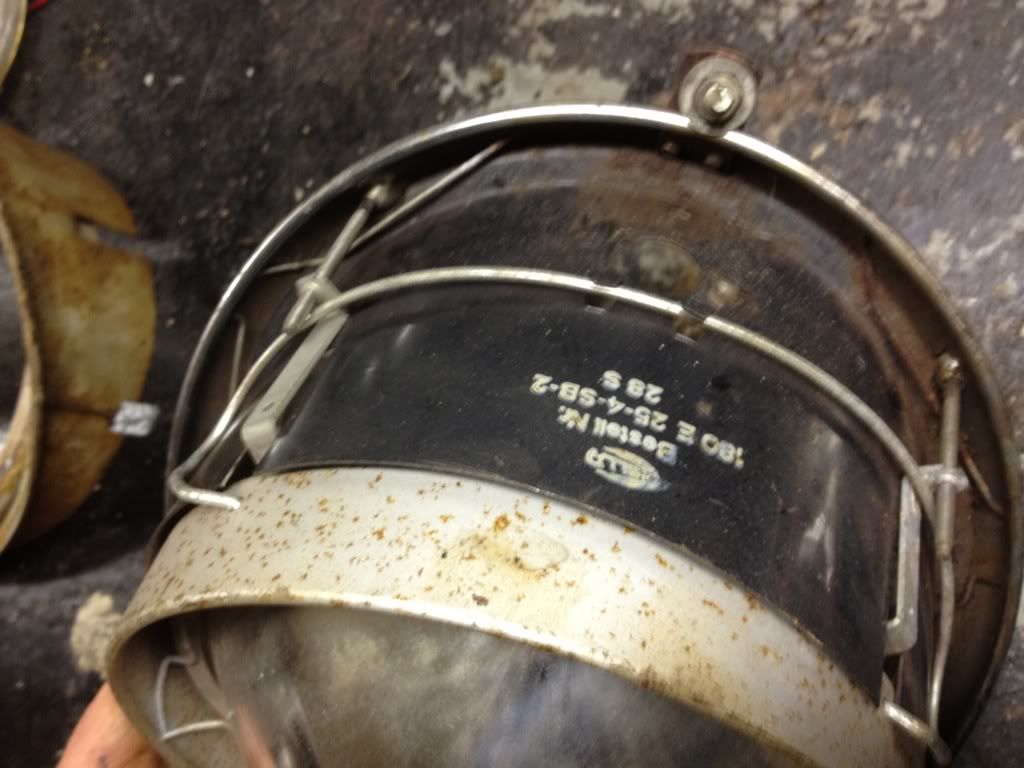
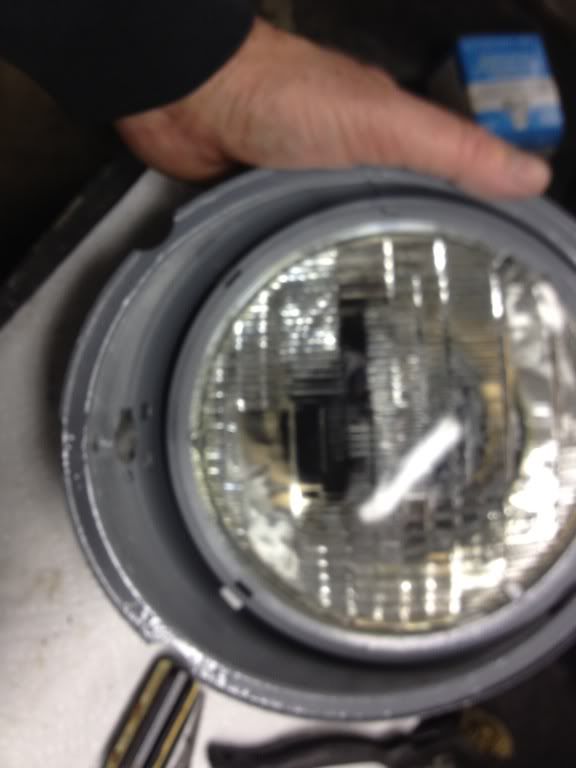
You can see where the parking light bulb assembly goes, but before that pay attention to the two groves on the retainer housing.
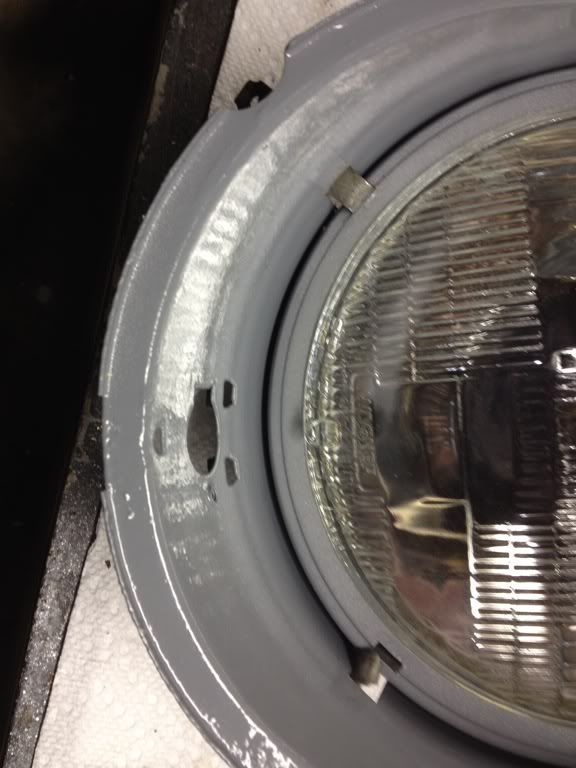
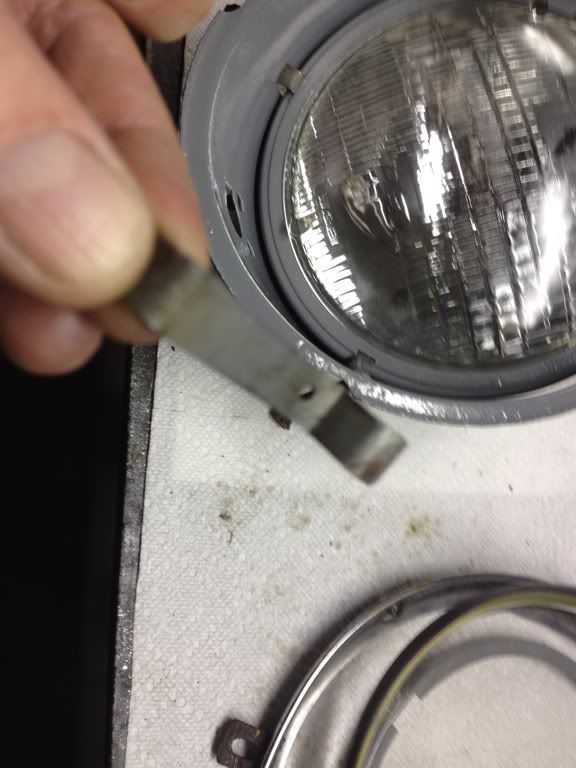
These take these little adjuster mounts that hook in those slots and are then held in place by the adjuster screws. Here's what they look like.
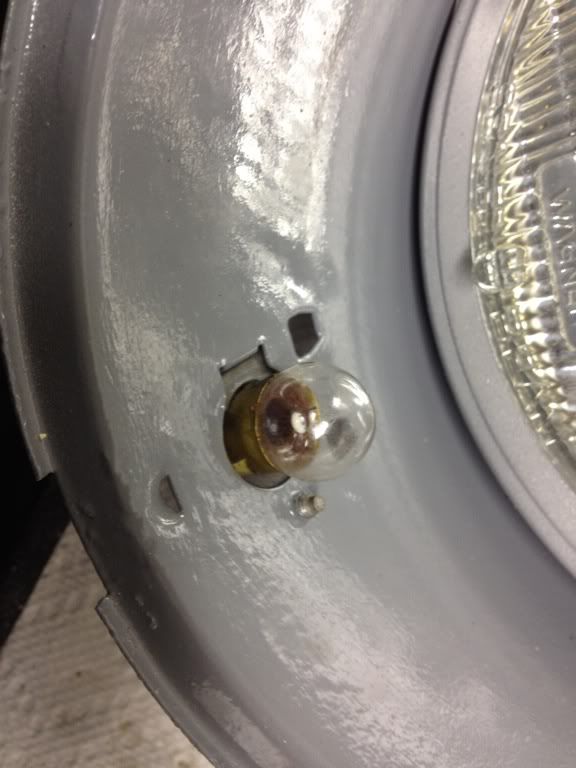
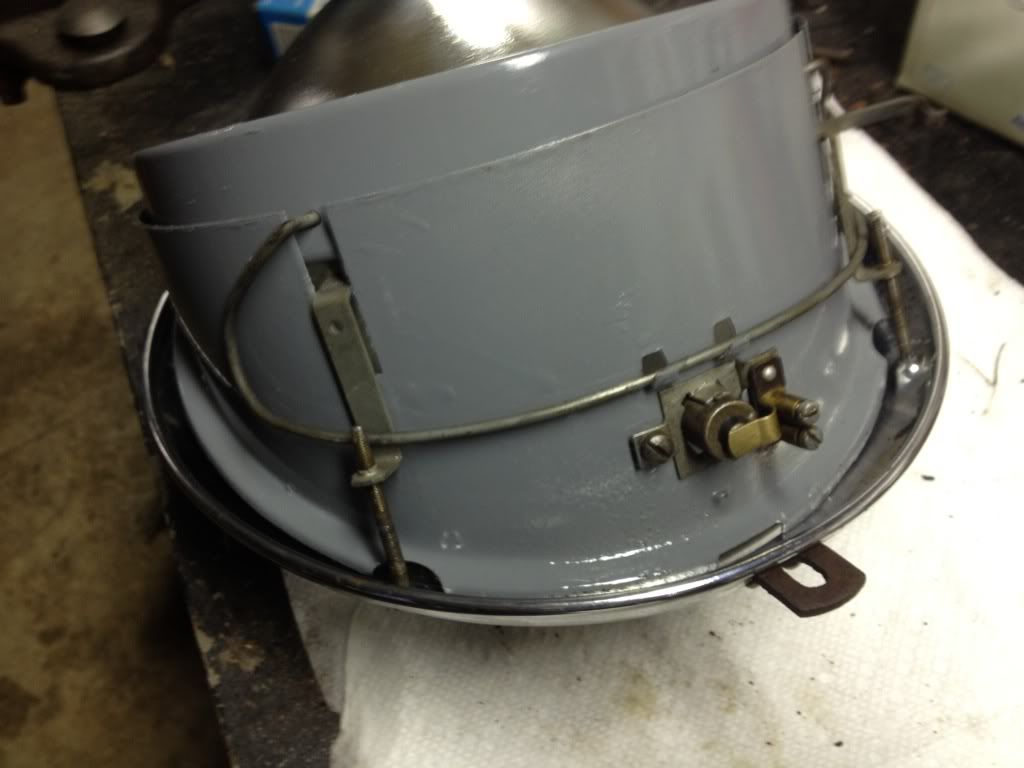
Clean up your 6 Volt housing real nice and get those wire connecter screws ready for action!

One screw holds it in place.
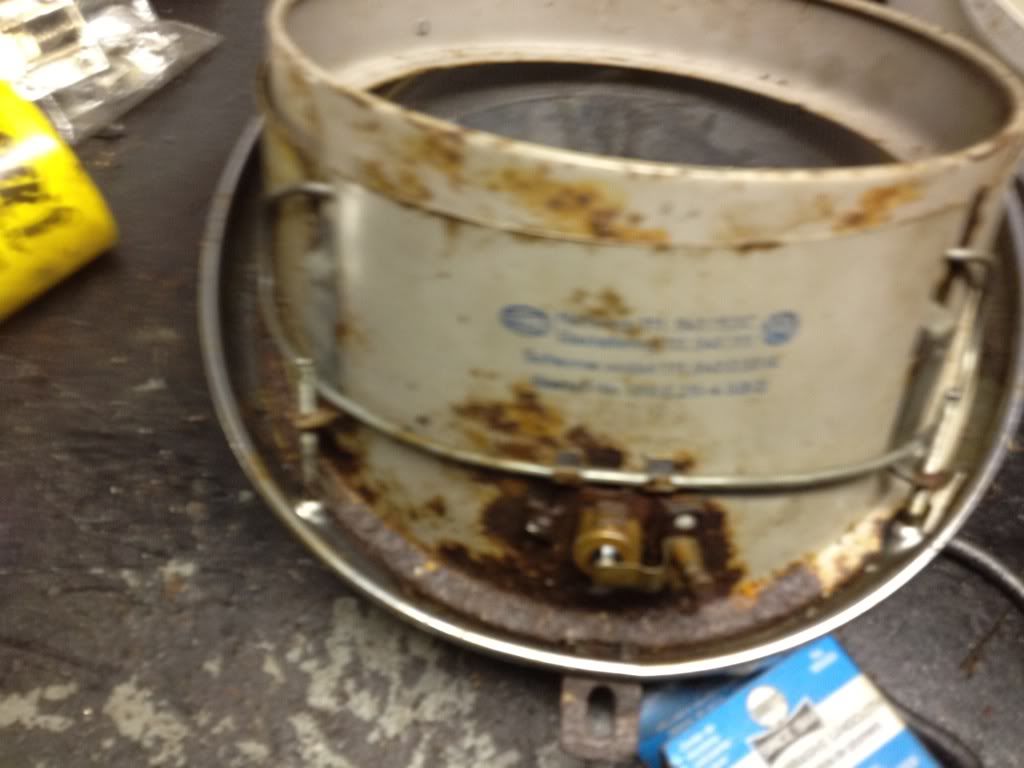
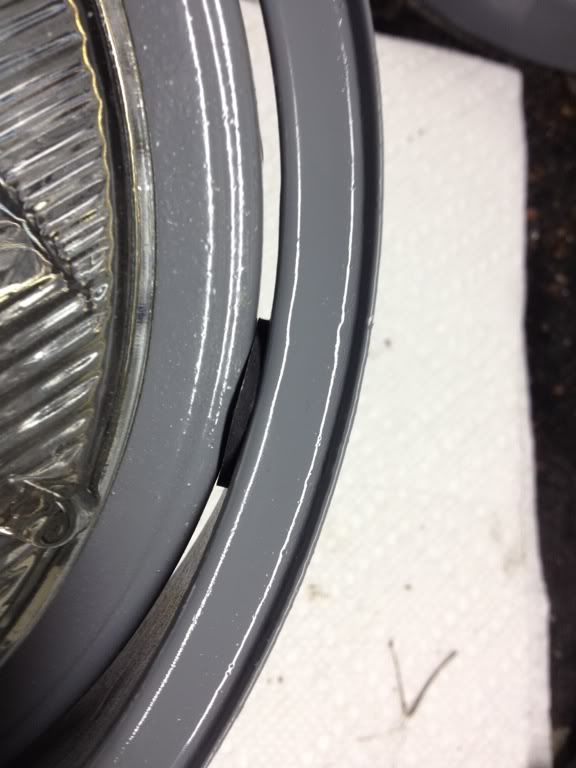
You can see what I mean by the 5pm & 7pm screw locations. Some of the other pre 67 bugs & pre 68 buses had the screws at 2pm and 8pm. Also bus housings had a drip hole on the side.
Now on the old Oval set ups, a kind of tension "pry bar" is attached to the housing that pulls the bulb in or out when you turn the screws at 5pm & 7pm to adjust the light. Other set ups didn't have a tension bar, they had a long and shorter clip that mounted on the retainers and were controlled by the screw action. Here's what the tension bar set up looks like.
Still got your eyes?
We'll we have one more chance to loose them.
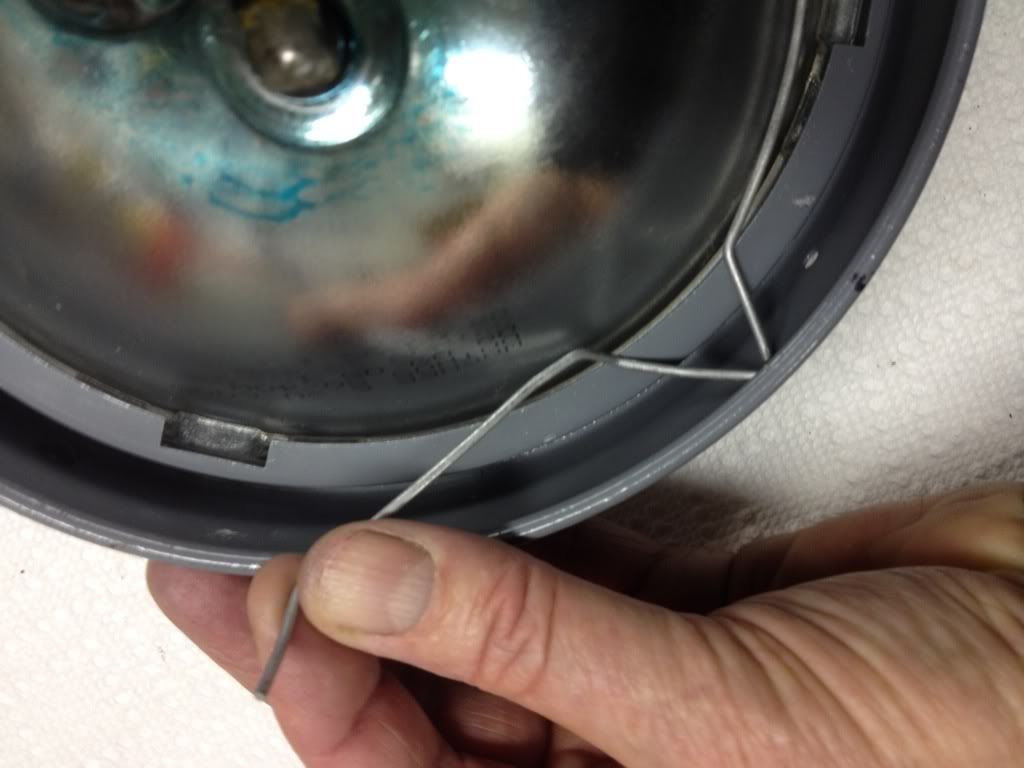
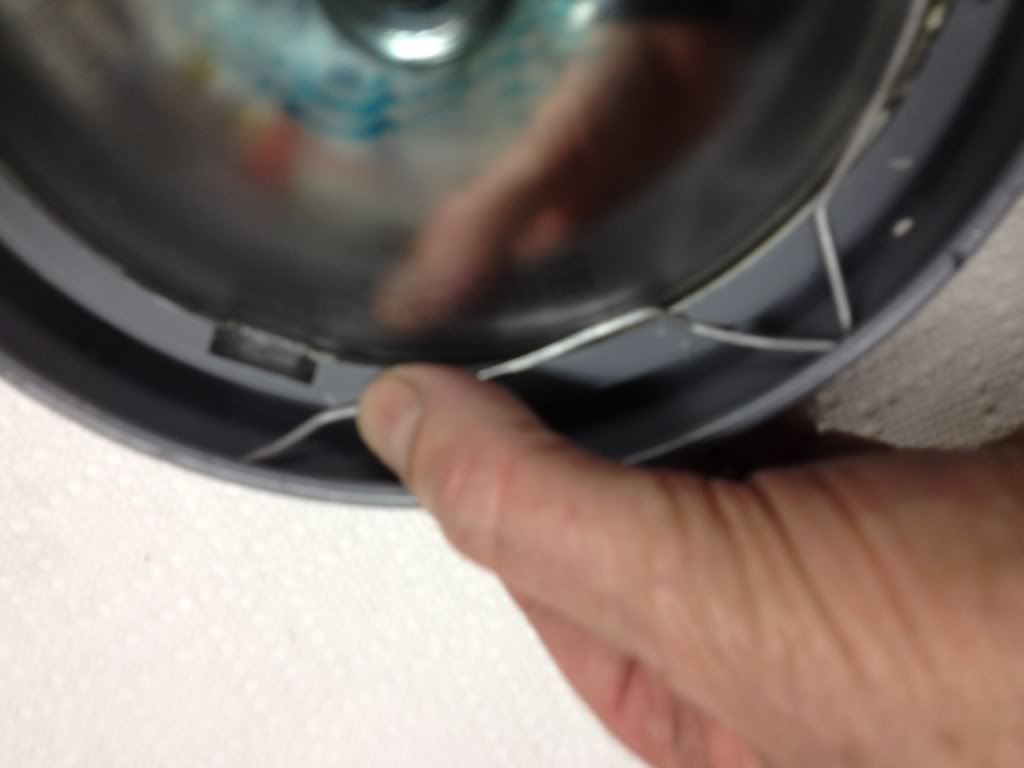
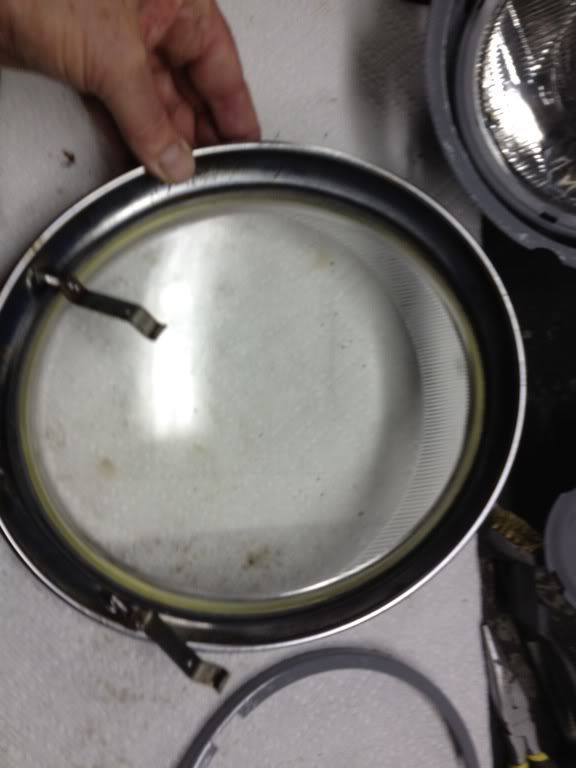
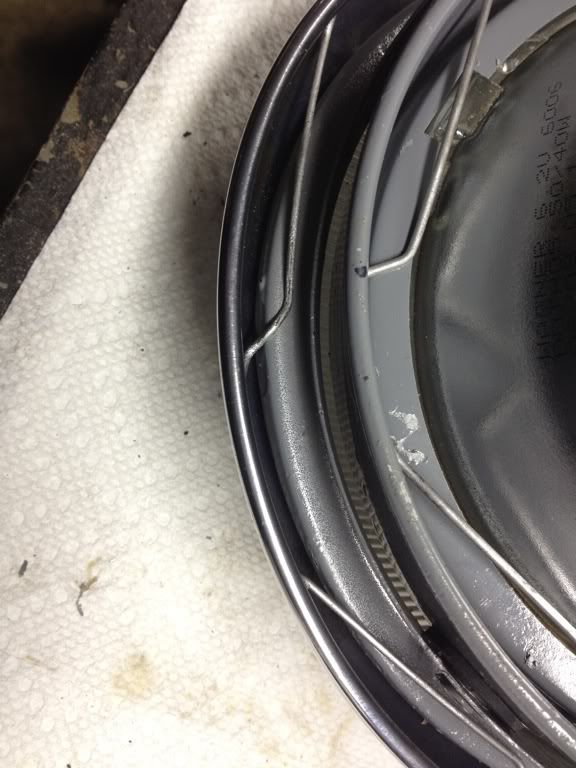
More of those &^$%#@ clips for the outer ring to be connected to the main housing. These are a slightly different shape than the earlier "V" clips and have a little "squiggly" notch that allows it to rest on the housing once in place.
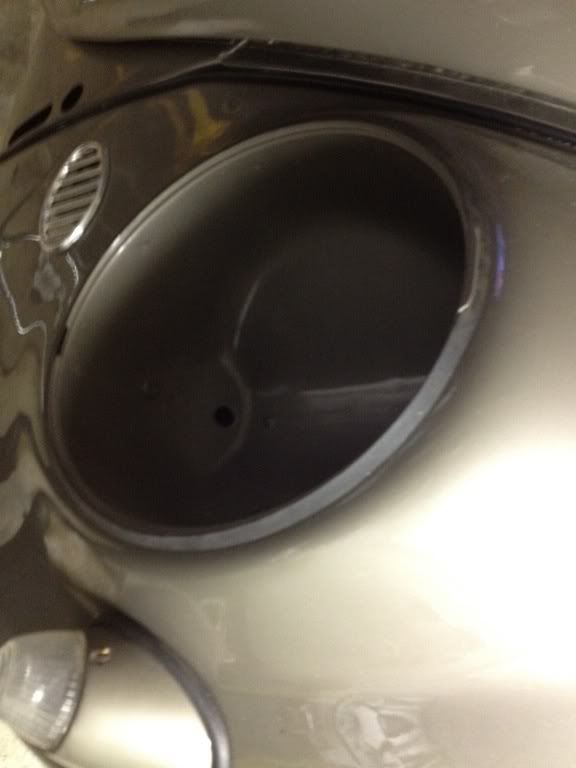
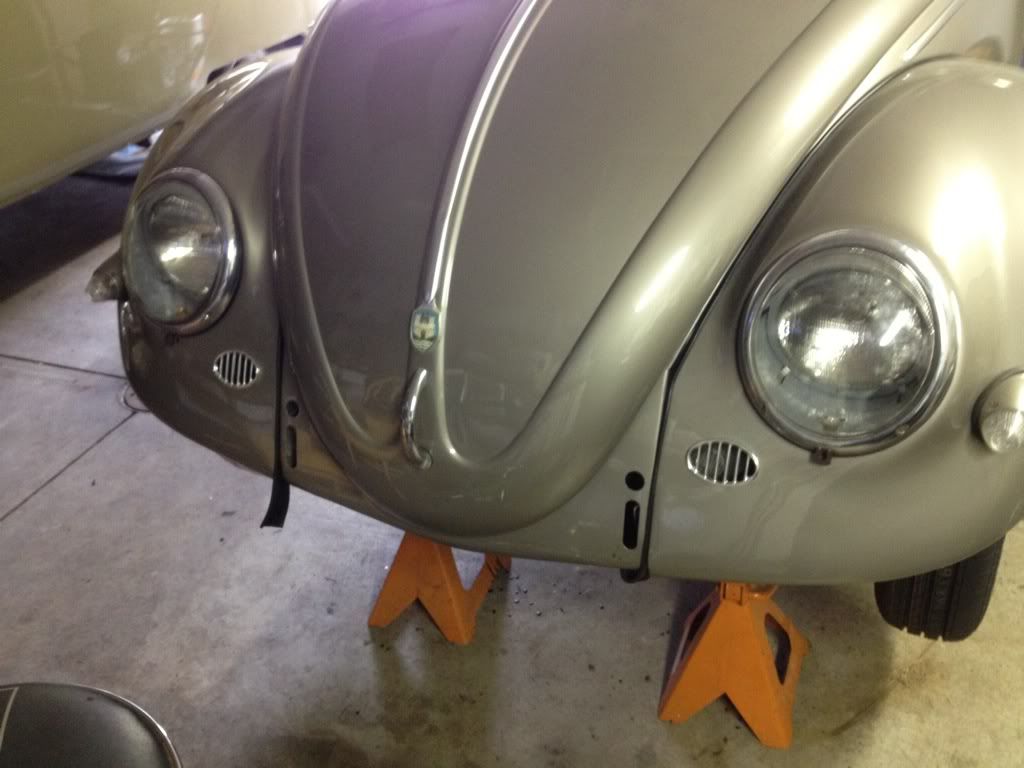
You've got to put your rubber seal on the car. I can't figure out the best way. Trial and error. Aaron probably knows. Maybe he'll tell me.
Well, I guess this is enough for old Six Volt until something better comes along!
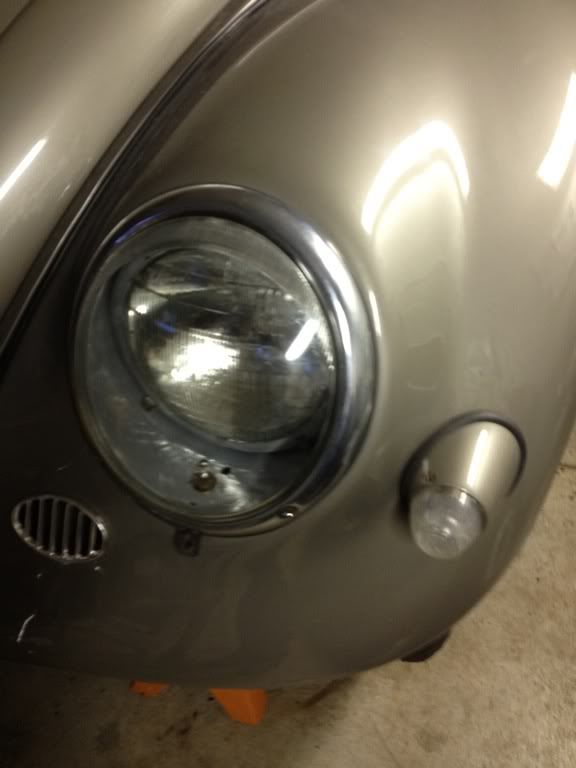
They don't look too bad. Now I need Kyle to tell me how to wire it up!
Six Volt OUT!